Table of Contents
- INTRODUCTION
- WHAT IS AN ADDIN IN EXCEL?
- HOW TO CREATE AN EXCEL ADDIN ?
- HOW TO INSTALL ADDIN IN EXCEL ?
- HOW TO USE ADDIN IN EXCEL?
INTRODUCTION
In this article, we’ll learn the way to install addin in Excel.
Excel is a great tool and almost a ESSENTIAL TO KNOW kind of application these days.
Excel has completed over 25 years and every time they come up with the new and innovative utilities for the easy working. But even after that, there are so many more requirements which can be SPECIFIC and not addressed to by the Excel.
In such cases, Excel has given a complete option for the user to create his own functionality which will work for him.
This utility is known as an ADDIN.
AN ADDIN IS A SMALL FILE WHICH CAN BE CREATED FOR A CUSTOM FUNCTIONALITY AND CAN BE EASILY INSTALLED IN OUR COPY OF EXCEL.
The ADDIN will behave just like the integrated Excel Functionalities.
In this article we’ll try find out
- What is ADDIN in Excel ?
- How to Create an ADDIN?
- How to Install ADDIN in Excel ?
- How to use an ADDIN Functionality in Excel?
and a few more questions.
WHAT IS AN ADDIN IN EXCEL?
We can define the ADDIN as following.
An ADDIN is an additional utility which is installed in our copy of EXCEL and help us to extend the usability and ability of the EXCEL
For the example,
a function DEC2BIN converts the decimal numbers to binary numbers.
but there is a limitation.
DEC2BIN will convert the numbers up to 511 [ Decimal number ] only an after that it’ll create an error and won’t let us use the function further.
So, does it mean that we would never create binary numbers for the decimal numbers greater than 511?
The answer is , NO!!!
So, in this case , we have the option to program the function in VBA , create an ADDIN , install it and simply use it.
HOW TO CREATE AN EXCEL ADDIN ?
An EXCEL ADDIN is a simple file.
Most of the time it contains the CUSTOM FUNCTIONS and SUB PROCEDURES which are written in VBA and saved with an extension .XLAM
Let us take an example and we’ll go through the example as we learn the new steps with the complete installation.
Let us create a custom function to return the parameter of a rectangle.
FOLLOW THE STEPS TO CREATE AN ADDIN
- ENTER THE VBA CODE
- Open the EXCEL.
- Go to DEVELOPER TAB.
- Click VISUAL BASIC.
- The visual basic environment will open.
A COMPLETE PICTORIAL REPRESENTATION ABOUT OPENING THE VBA AND DIFFERENT AREAS IS GIVEN HERE.
- ENTER THE CODE
- In the project, right click and choose ADD MODULE. [ CLICK HERE TO LEARN THE DESCRIPTIVE PROCESS OF CREATING A CUSTOM FUNCTION ]
- Double click the module to open the workspace.
- Enter the following code in the workspace.
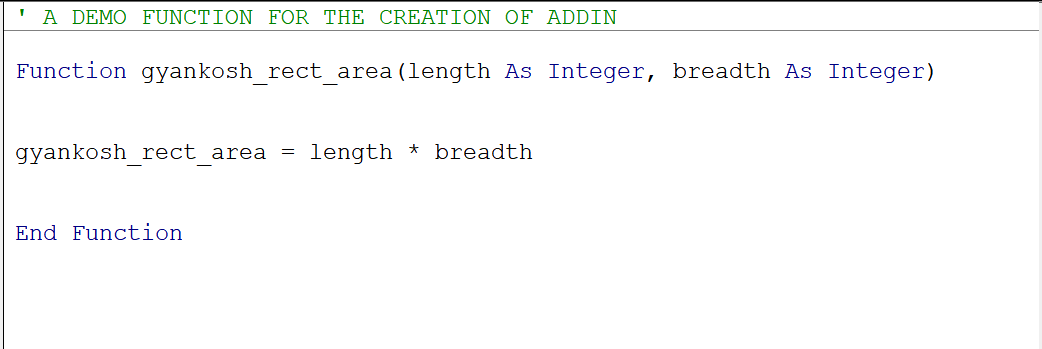
CODE:
' A DEMO FUNCTION FOR THE CREATION OF ADDIN

Function gyankosh_rect_area(length As Integer, breadth As Integer)
         gyankosh_rect_area = length * breadth
End Function
The code will look like the one shown in the picture below.
- SAVE THE FILE AS AN ADDIN [ WITH .XLAM EXTENSION]
- After the coding has been done, go to FILE > SAVE , either in the VBA WINDOW or the main EXCEL WINDOW.
- Choose the location, Enter the name of your choice, but choose the extension as .xlam.
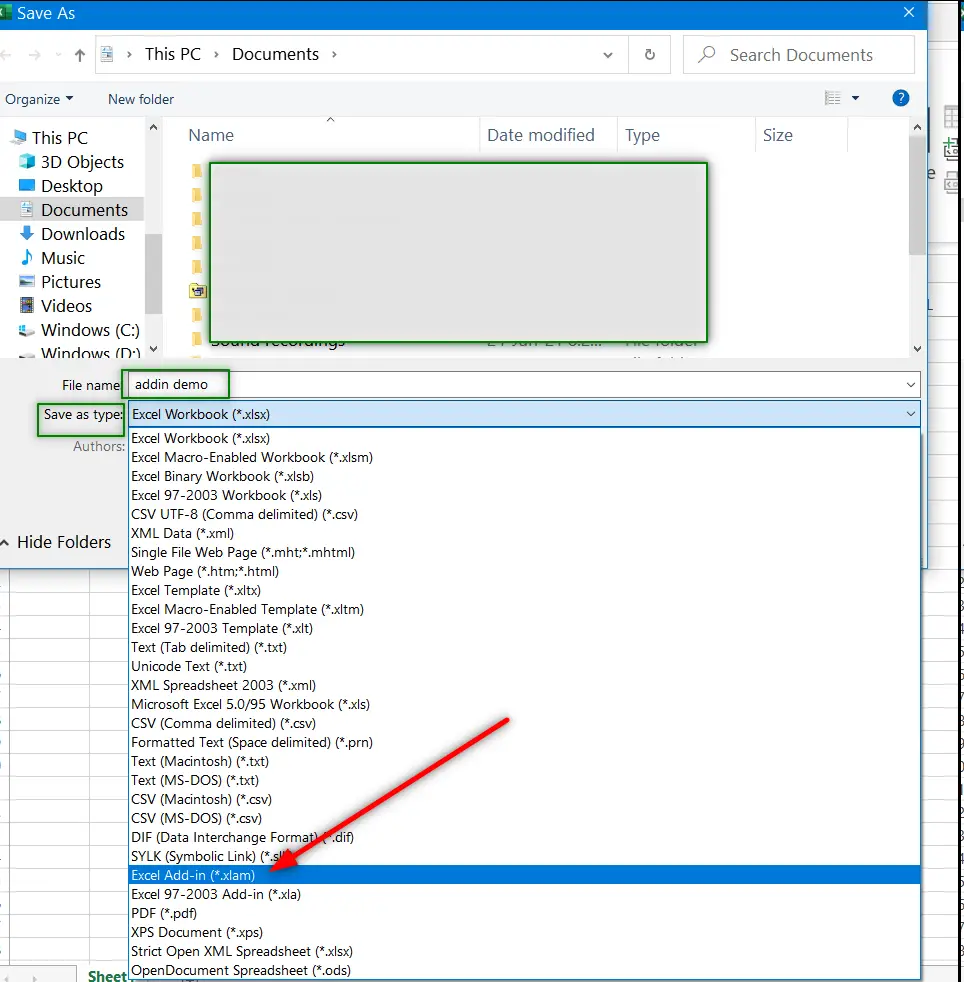
The file is saved as EXCEL ADDIN.
HOW TO INSTALL ADDIN IN EXCEL ?
After the addin has been created ,let us learn to install this to our EXCEL.
FOLLOW THE STEPS TO INSTALL THE EXCEL ADDIN IN EXCEL
- Open the excel.
- Go to FILE OPTION.
.
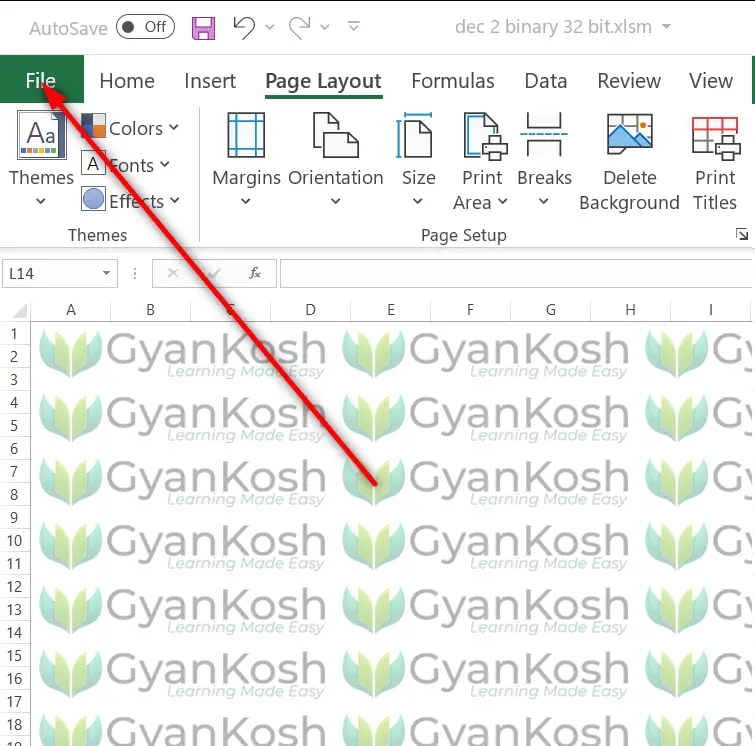
- After going to FILE MENU choose OPTIONS.
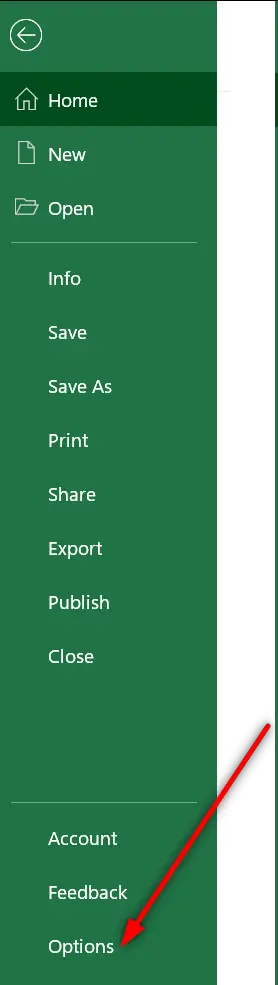
- An options windows will open.
- Go to ADDINS option from the left hand side pane.
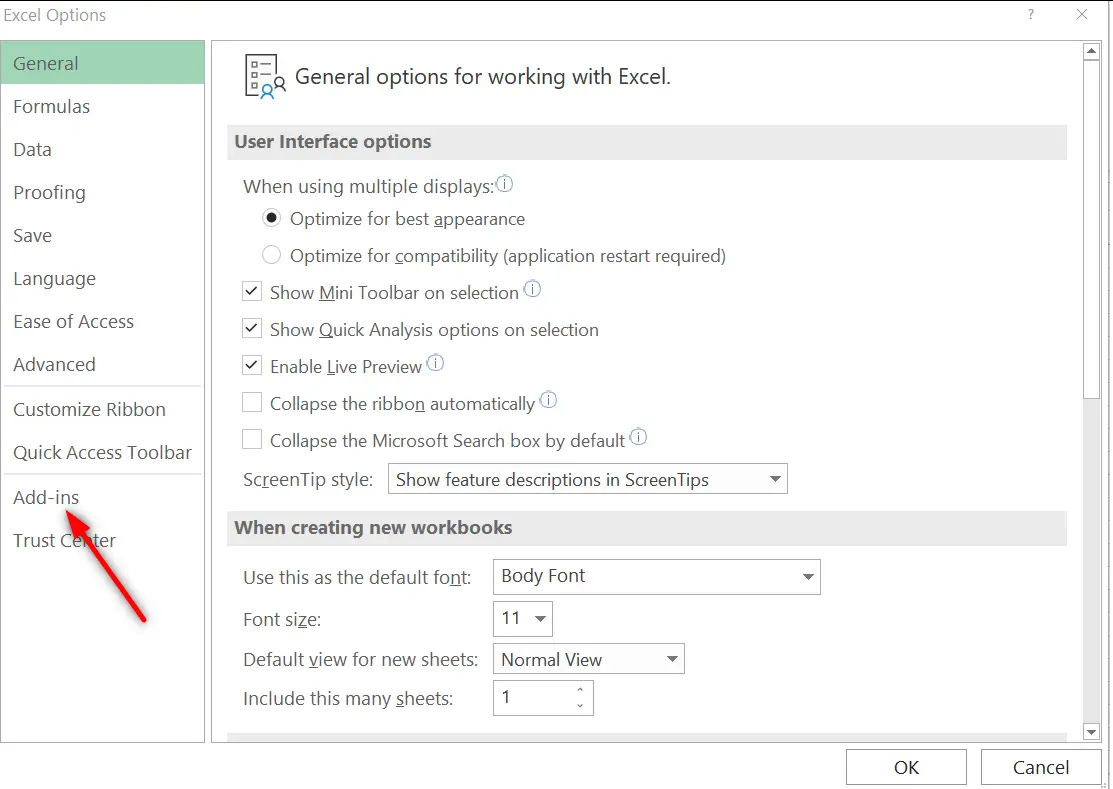
- Choose ADDINS from the left hand side options.
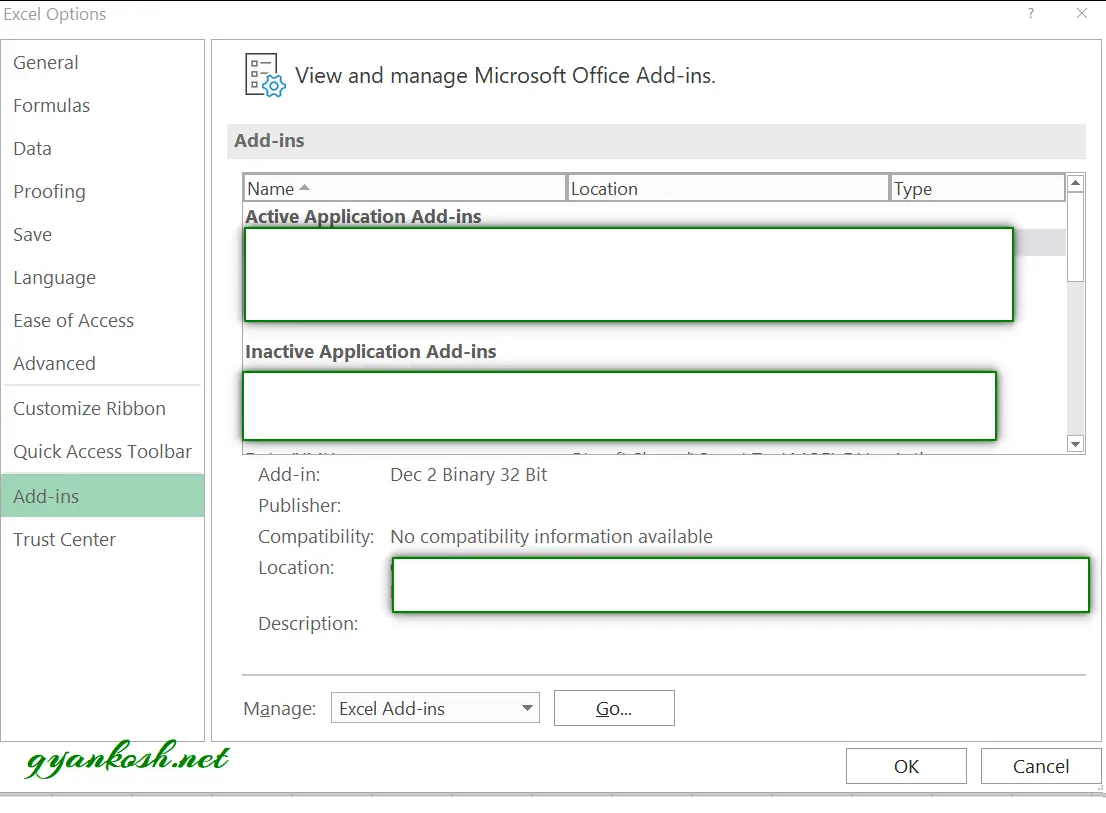
- Click on EXCEL ADD INS FROM THE MANAGE DROPDOWN in the lower portion of the window.
- Click GO.
- A small ADD-INS windows will open.
- Click BROWSE.
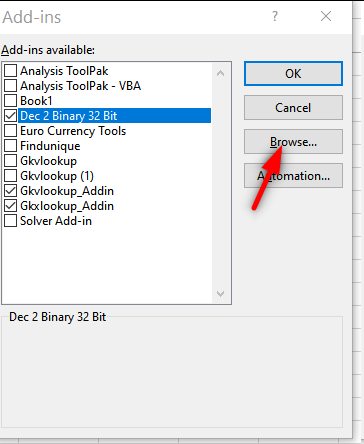
- As we click on the browse button , it will open the file browser.
- Locate your previously created ADD IN file and select it.
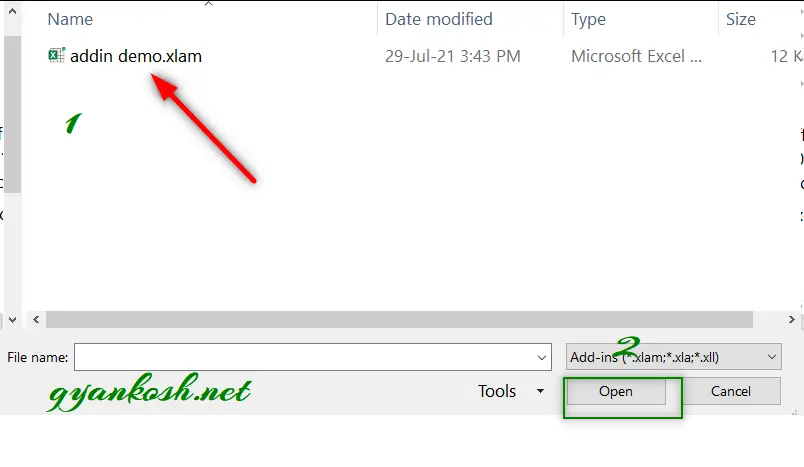
- After selecting the Addin File, click OPEN.
- The addin will be shown in the ADD INS window as shown in the picture below.
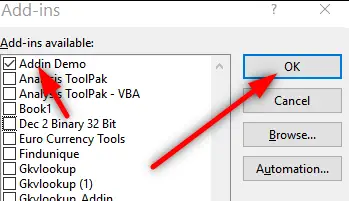
- CONGRATULATIONS!!!
The ADD-IN has been installed.
HOW TO USE ADDIN IN EXCEL?
After we have created and installed the Addin, let us try to use this.
An Addin has been installed and it’ll behave like the part of the EXCEL only.
THE SUB PROCEDURES CAN BE USED WITH THE HELP OF BUTTONS AND ASSIGNING THEM THE MACROS FROM THE ADDIN.
THE FUNCTIONS WILL BE AVAILABLE TO USE JUST LIKE THE STANDARD FUNCTIONS.
We have created an Addin which contains a function. We’ll try to use that function in Excel.
ALWAYS REMEMBER!
IF YOU RELY ON THE FUNCTIONS GIVEN IN ANY ADDIN , YOU SHOULD BE HAVING THE ADDIN INSTALLED IN THAT PARTICULAR COPY OF EXCEL, WHERE YOU WANT TO USE THOSE FUNCTION.
FOLLOW THE STEPS TO USE THE CUSTOM FUNCTION INSTALLED THROUGH ADDIN.
- Simply use the function as =GYANKOSH_RECT_AREA( LENGTH, BREADTH).
- Let us take the LENGTH AS 40 AND BREADTH AS 20 which can be put directly in the function or the cell address containing the values can also be used.
- So, the function becomes =GYANKOSH_RECT_AREA(40,20)
- The result comes out to be 800, which is correct.
You can see that we simply used the function, the same way we use the integrated functions.
IF WE HAVE MACROS OR SUB PROCEDURES IN THE ADDIN, WE CAN ADD THEM AND USE THEM BY ASSIGNING THE MACROS TO THE BUTTONS,
OR
MAUALLY USING THE MACROS OR
BY PUTTING THEM IN THE CUSTOM TABS.
So, in this article we learnt about the Excel Addins, How to create an addin, how to install an addin and how to use the addin in the Excel.