INTRODUCTION
Background image is the visual, which is visible in the background of the cells in Excel.
There can be many situations when we need the backgrounds in our reports.
They can be helpful in complementing the looks of our report or we can insert any picture to show the owner details or any other information, which we also know as a watermark. [ CLICK HERE TO LEARN HOW TO INSERT A WATERMARK IN EXCEL SHEET ].
If you are familiar with Excel and have inserted a background , then you must be knowing that while printing, EXCEL PRINTS ONLY THE CONTENT OF THE CELLS, objects and nothing except that.
NO BACKGROUND IS PRINTED IN THE EXCEL SHEET.
So, we need to use several tricks to make it possible and get the background printed on our sheet.
In this article, we’d learn to print the background in Excel.
I CAN’T PRINT THE BACKGROUND IN EXCEL – WHY ?
Yes!!
You got it right.
You can’t print the so called BACKGROUND in Excel, the option we find under the PAGE LAYOUT Tab.
Excel lets you print the content of the cells, grid lines or any objects which you have added. Other than that, nothing will be printed.
This is the reason why such tricks are needed to be used.
Let us find out the tricks to make the background printable.
DIFFERENT WAYS OF PRINTING THE BACKGROUND IMAGE IN EXCEL
We can make the background image printable in mainly two ways.
- Inserting the image as HEADER .[ This is the same way as we insert a watermark in the excel sheet ]
- Creating a Shape and filling it with the picture.
WAY 1: MAKE THE BACKGROUND PRINTABLE BY INSERTING PICTURE AS HEADER
Follow the steps to create a printable background in EXCEL 2019. [ The reference pictures are of Excel 2019. The steps are same but option locations can be different ]
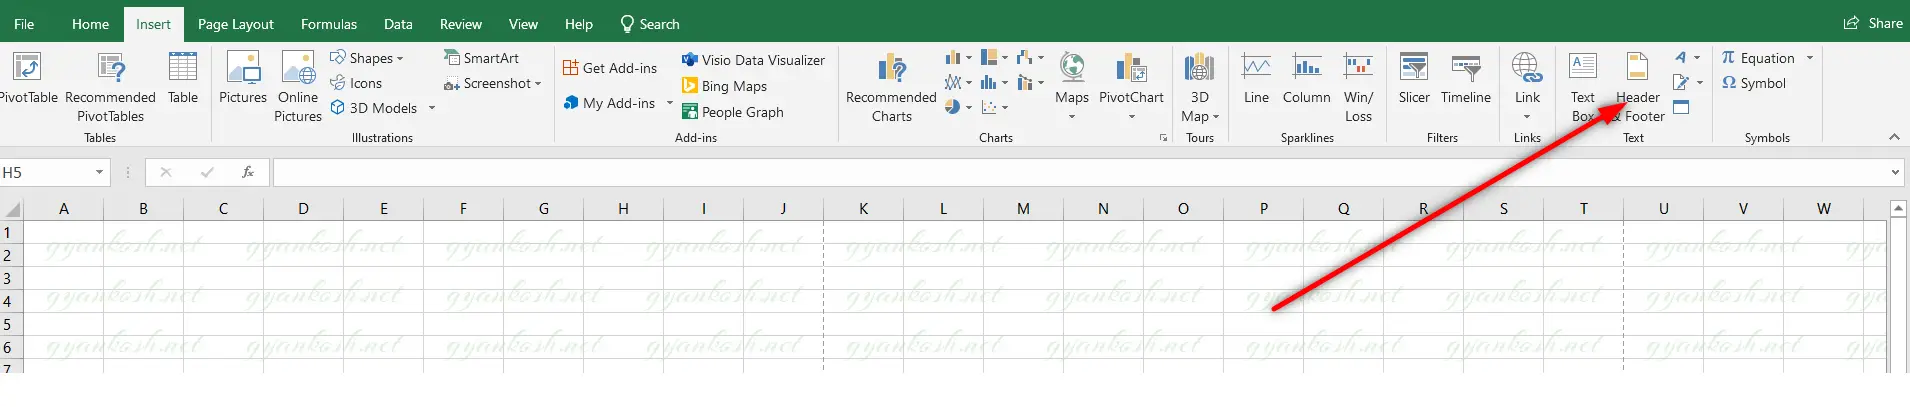
- Go to INSERT TAB and click HEADER and FOOTER.
The following picture shows the location of the button.
- As we click HEADER AND FOOTER , the page layout changes and the place holders open to enter the HEADERS and FOOTERS.
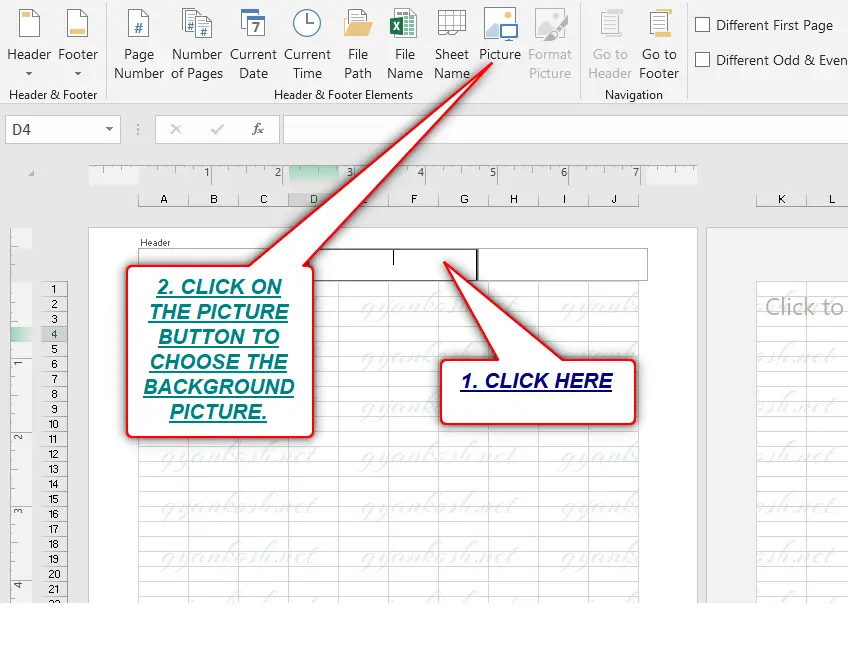
- Select the CENTRAL HEADER INPUT SPACE . [ The picture can be added left header place or right header place but that’ll create the picture which won’t be in a good alignment. Central Header is always the best place for a background to be in center. ]
- Click PICTURE as shown in the picture below.
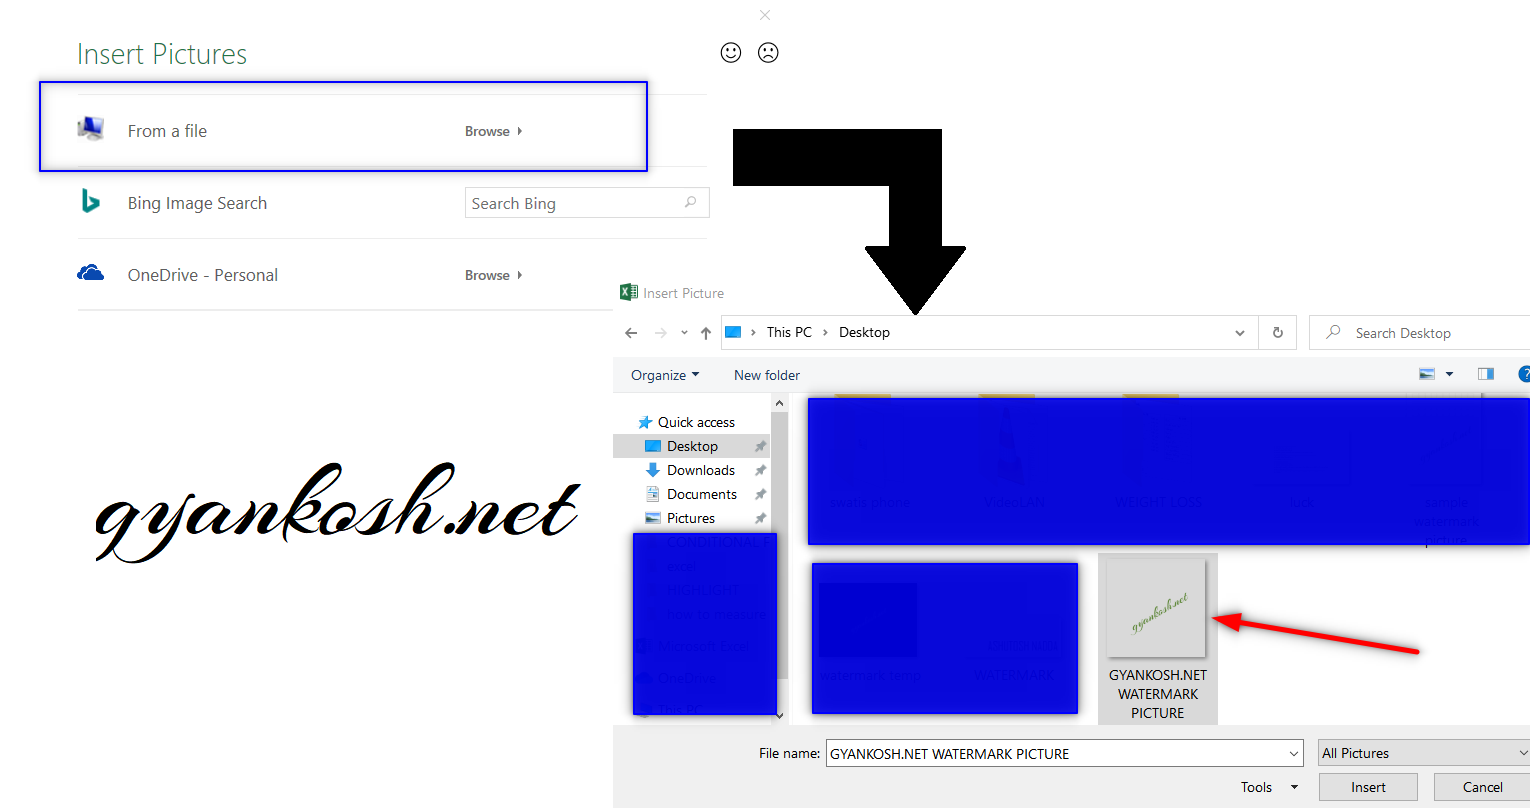
- When we click PICTURE , a small window opens asking the location to get the picture from. You can choose from the local computer, bing web search or onedrive [ Cloud Storage ].
- Choose appropriate location and choose the picture. For our example, we’d choose the first option.
- Choose FROM A FILE and click BROWSE.
- The PICTURE FILE CHOOSING dialog box will open.
- Locate the picture file [ background ] and select the file.
- Click OK.
- The following picture shows the process.
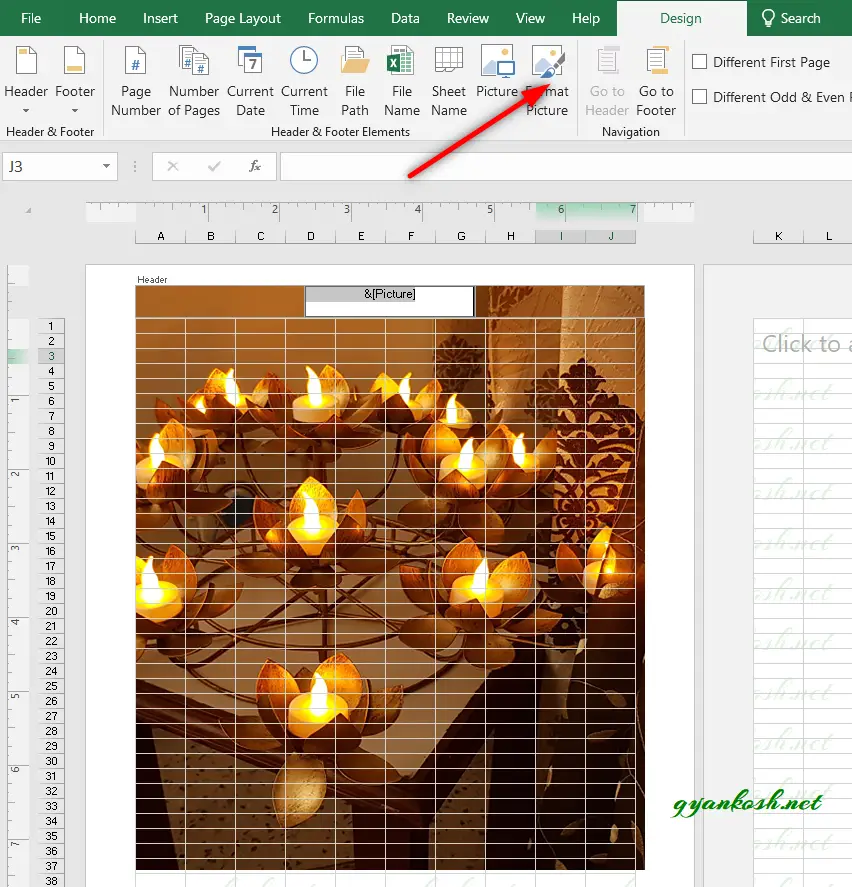
- After we have selected the picture , the picture won’t be visible yet but a text &[Picture] will be visible in the central HEADER.

- Now click anywhere on the sheet and the BACKGROUND PICTURE will be visible.
ALWAYS REMEMBER, WHEN WE GO BACK TO THE NORMAL VIEW I.E. THE SHEET VIEW, HEADER OR FOOTER IS NEVER VISIBLE THERE. EVEN IF THE HEADER OR FOOTER IS A PICTURE IT WON’T BE VISIBLE IN THE NORMAL OR SHEET VIEW.
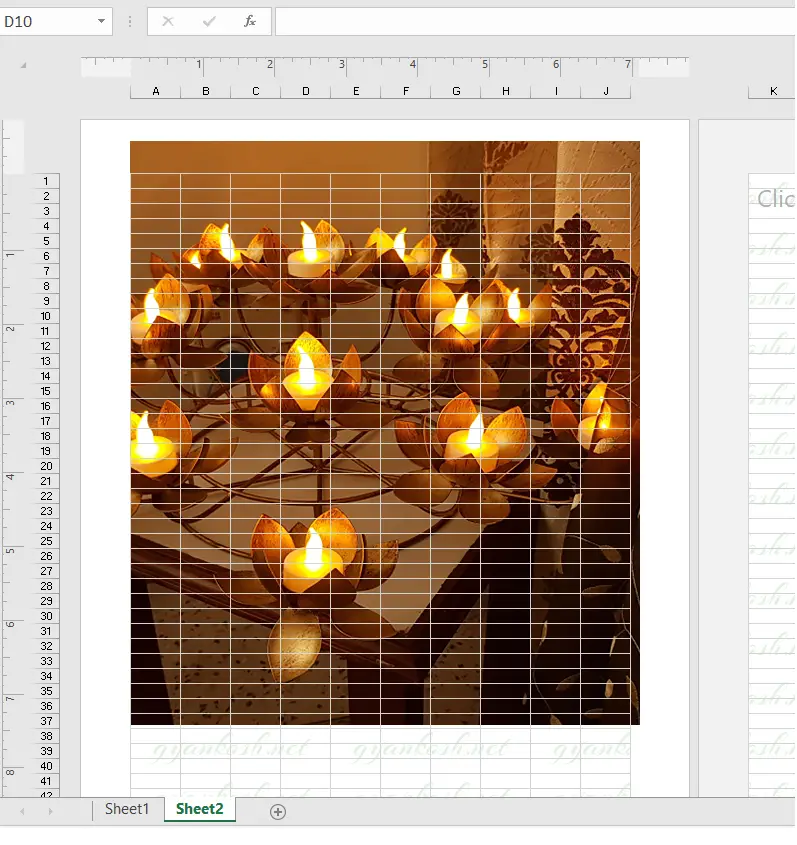
The following picture is visible in the background and will be printed when the page is printed.
This background will be available in all the pages of the excel workbook and will be printed when we print the workbook.
FORMATTING THE BACKGROUND TO YOUR TASTE
We already created a printable background.
What if we want some changes in the picture.
Don’t Worry !
We can change the picture. If it is color , transparency etc. we can change it before the usage in other programs also.
If we want to crop the background from left, right, top or bottom, or change the color of the background or any other editing, we have been given some option in the Excel too.
EDIT THE BACKGROUND
After the picture has been selected for the HEADER [ which we want to insert as a background ] , Click in the Central Header Space and click on the FORMAT PICTURE BUTTON adjacent to the PICTURE OPTION under the DESIGN TAB [ Design tab appears when we click the Header or Footer Space ]. The location is shown in the picture below.
STEPS TO EDIT THE BACKGROUND IMAGE
- Click FORMAT PICTURE.
- FORMAT PICTURE dialog box will open.
- Look at the picture below.
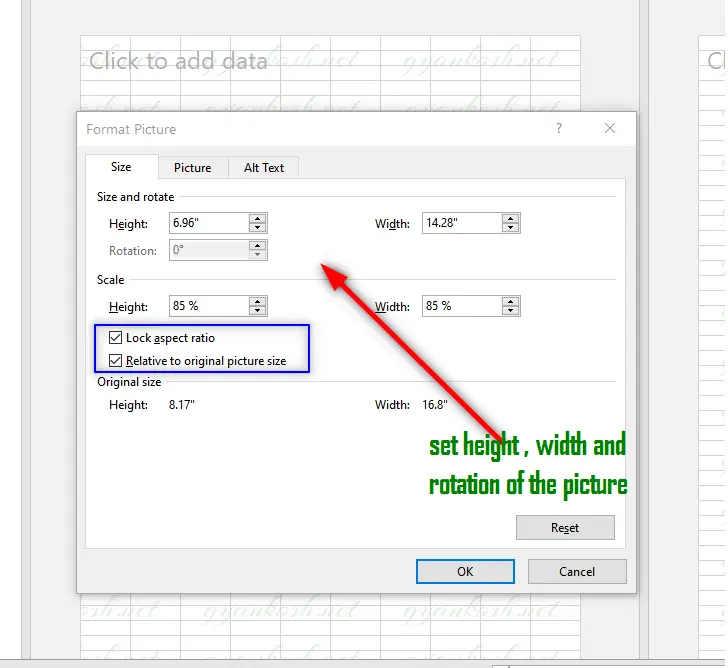
There are different options which can be changed for the background image.The HEIGHT and WIDTH will be changed according to the HEIGHT and WIDTH of the background image.SCALE OPTION scales down or up the picture as per the given percentage. [ The SCALING is the process of making something bigger or smaller in the original shape. ].LOCK ASPECT RATIO: ASPECT RATIO is the ratio of height to width. It should be checked if we don’t want to change the look of the picture. The width or height will be changed if any of the value is changed.
Second Tab is PICTURE. Let us have a look at the options available.
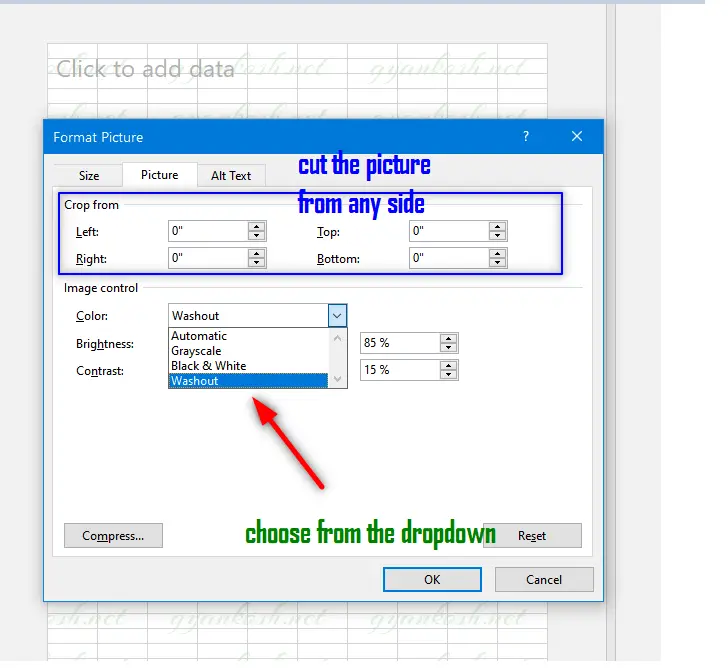
CROP FROM : Cropping is trimming the picture from any side.
We can trim the picture from LEFT, TOP, RIGHT or BOTTOM.
COLOR: We can choose the color of the background from the drop down list. Grayscale is the gray picture without color. Black and White [ Only blacks and whites ]
BRIGHTNESS and CONTRAST can also be changed as per choice.
For our example, we chose the Color as WASHOUT.
Click OK.
After clicking OK click anywhere on the sheet and check the background if it is as per requirement or not. If not, again format the picture.
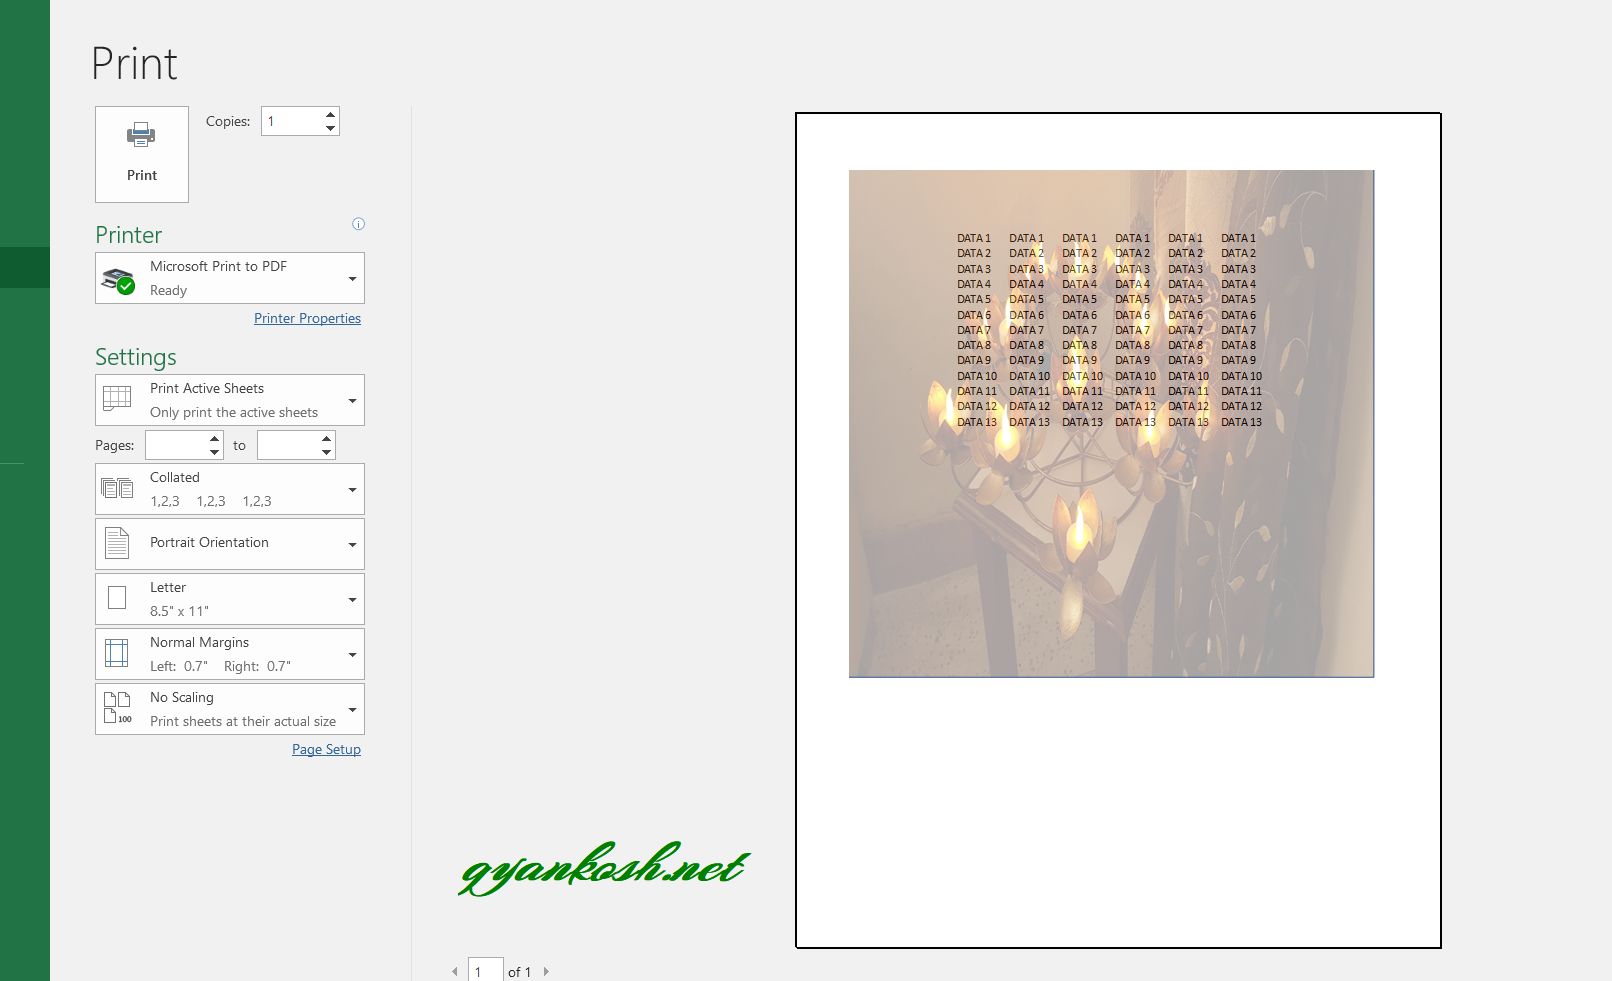
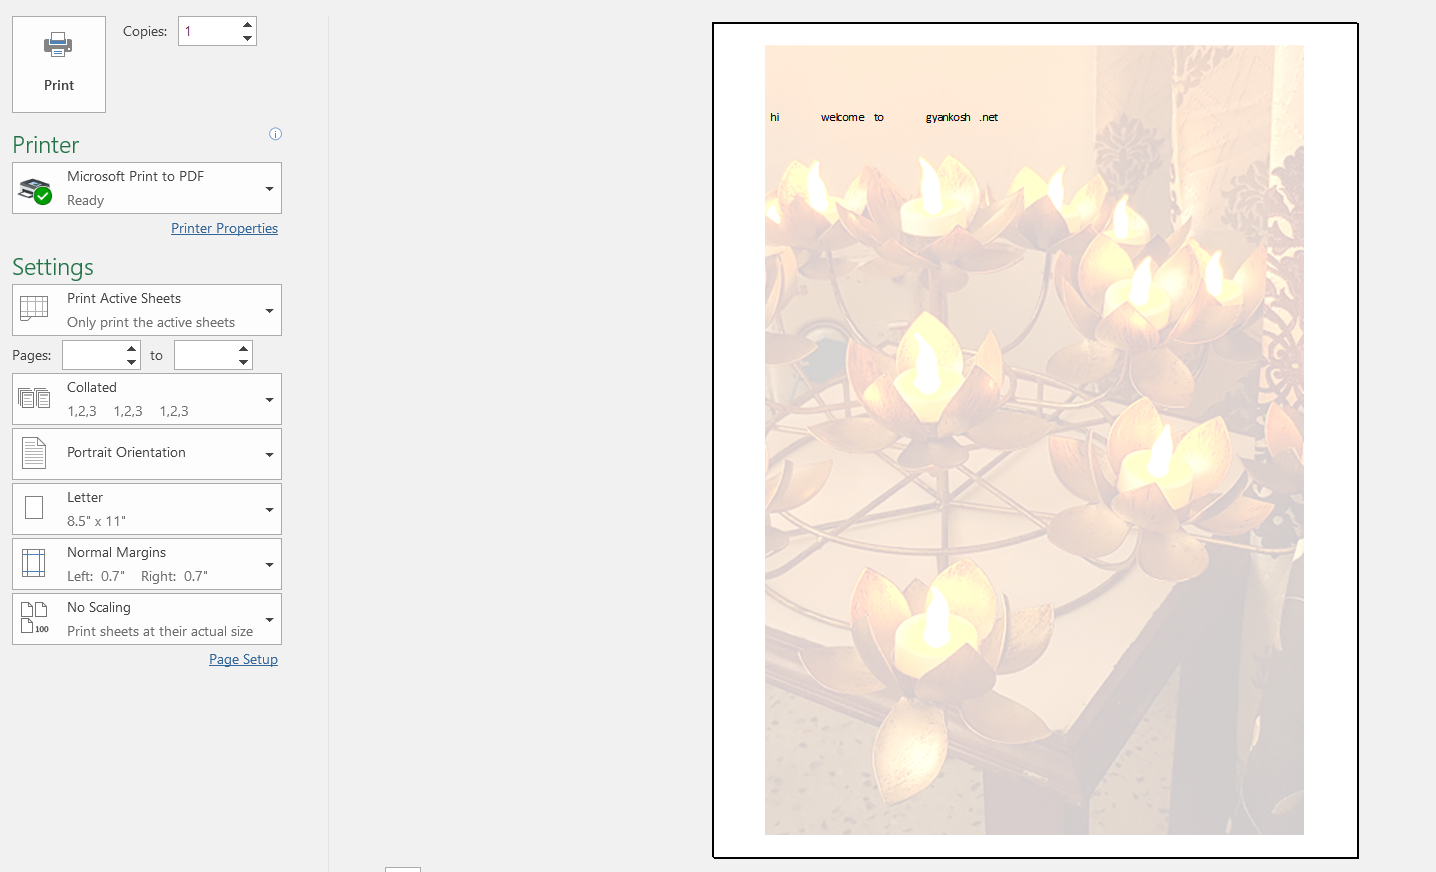
PRINT THE SHEET
- Go to FILE > PRINT.
- We can see the background image is visible and ready to be printed.
- Click PRINT.
WAY 2 : CREATING A PRINTABLE BACKGROUND USING SHAPE
There is one more way to create a printable background picture in Excel.Let us try this option and check the results.
PRE PLANNING
We need features to add the background to the sheet and to be able to print this background.
We can do that with the use of SHAPES with the following steps.
- Insert a Shape.
- Fill the Shape with picture.
- Set the transparency of the shape to make it look like a background.
- Resize the shape and Place the shape on the data.
- Print the Sheet.
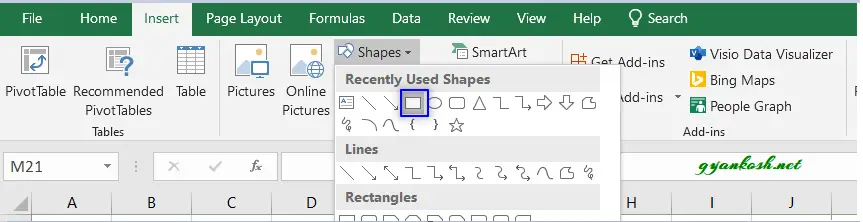
STEP 1 : INSERT A SHAPE
- Go to INSERT TAB.
- Click on Shape and click Rectangle Shape.
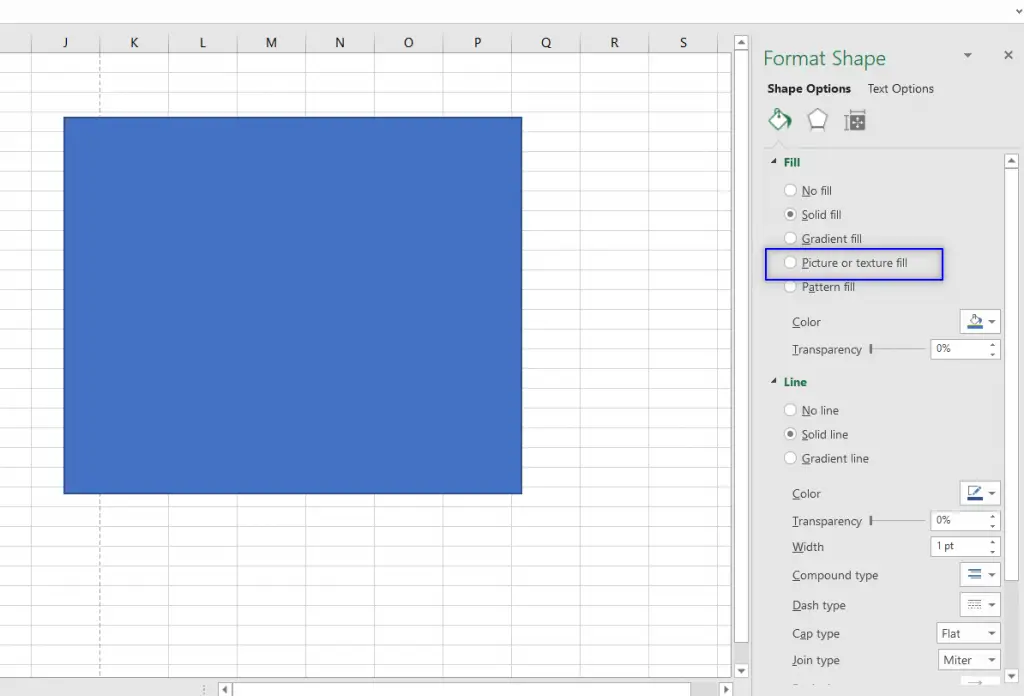
STEP 2 : FILL THE SHAPE WITH PICTURE
- Click the Shape.
- The option box will open on the right portion of the application.
- Select FILL > PICTURE OR TEXTURE FILL as shown in the picture below.
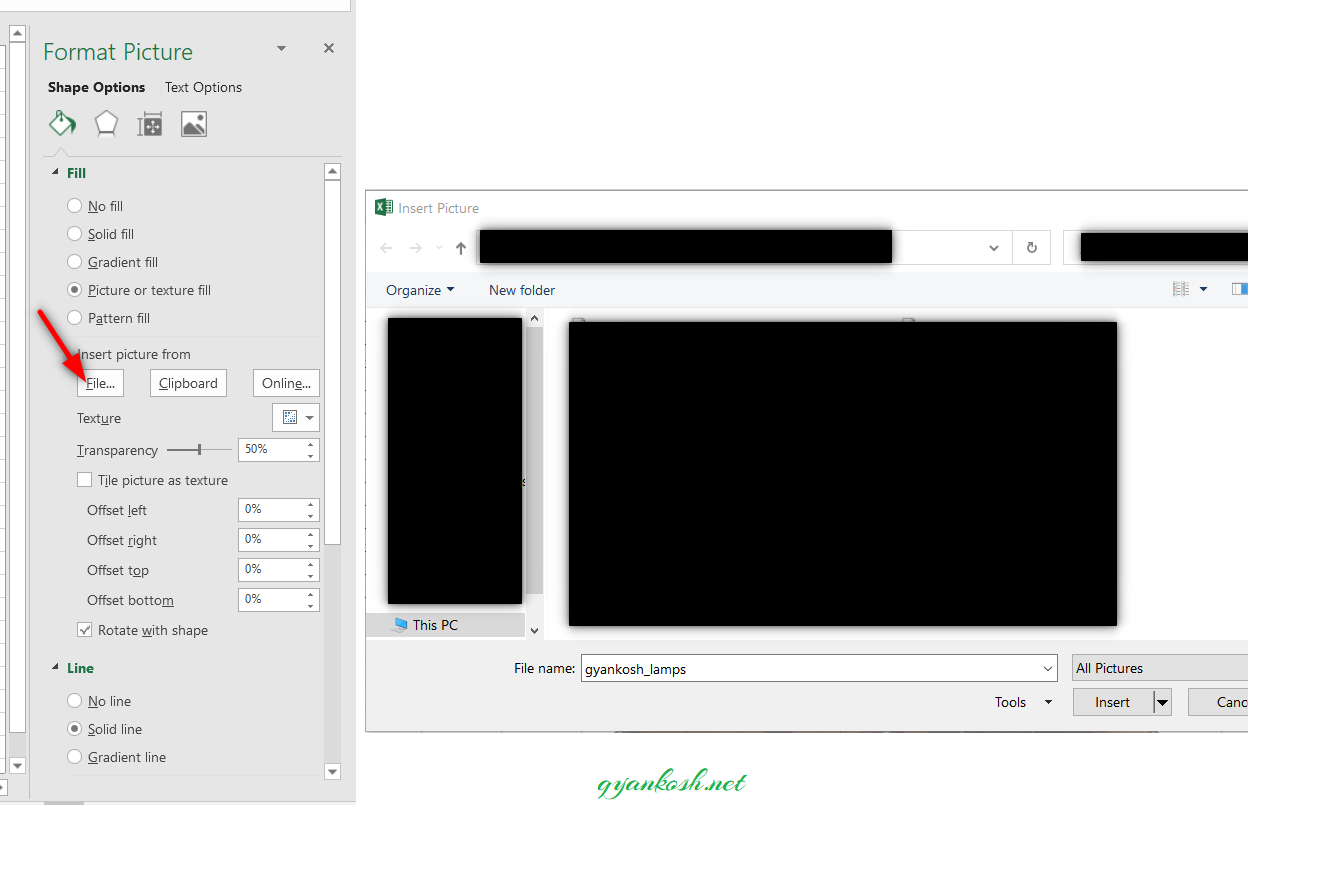
- As we click on PICTURE OR TEXTURE FILL options for inserting the picture will open.
- Click FILE and locate the picture file, select and click INSERT as shown in the picture below.
- After clicking INSERT, the picture will be inserted in our Shape which is a rectangle.
- Select the picture.
- The option box will open in the right side.
Now we need to make the picture transparent so that it can be used as a background and the data can be seen.
STEP 3 : SET THE TRANSPARENCY OF THE SHAPE TO MAKE IT LOOK LIKE A BACKGROUND
- In the option box, set the Transparency of the picture as shown in the picture below.
After setting the transparency, we need to resize and relocate the picture so that it covers the data and looks like a background.
STEP 4 : RESIZE THE SHAPE AND PLACE THE SHAPE ON THE DATA
STEP 5: PRINT THE SHEET
- Go to FILE > PRINT.
- We can see the background image is visible and ready to be printed.
- Click PRINT.