Table of Contents
- INTRODUCTION
- WHERE IS THE BUTTON LOCATION TO ARRANGE SHAPE OBJECTS IN EXCEL ?
- HOW TO ARRANGE SHAPE OBJECTS IN EXCEL ?
- HOW TO ALIGN OBJECTS IN EXCEL ?
- HOW TO ROTATE OBJECTS [ SHAPES, OBJECTS ] IN EXCEL ?
- FAQs
- HOW TO GROUP THE SHAPES IN EXCEL?
- HOW TO SELECT ALL THE SHAPES OR PICTURES OR OBJECTS IN EXCEL [ SHORTCUT ] ?
- HOW TO SELECT MULTIPLE SHAPES OR PICTURES OR OBJECTS IN EXCEL [ SHORTCUT ] ?
- HOW TO ASSIGN A MACRO TO ANY SHAPE IN EXCEL?
INTRODUCTION
When we create reports, we often make use of Shapes, charts, etc. which we sometimes call objects.
An object is a self-contained entity that has many methods and properties which can be set by the user to change the behavior of the object. Simply speaking, the cells, rows, charts, shapes, etc. are all objects.
The objects to which we refer to in this article are specifically the CHARTS and SHAPES etc. which are the graphical portion of the EXCEL.
Many times when we have more than one such graphical object we come across the need to put the object in the sequence, throwing them back, bringing them to the front, rotating, etc. which can be easily done with these options.
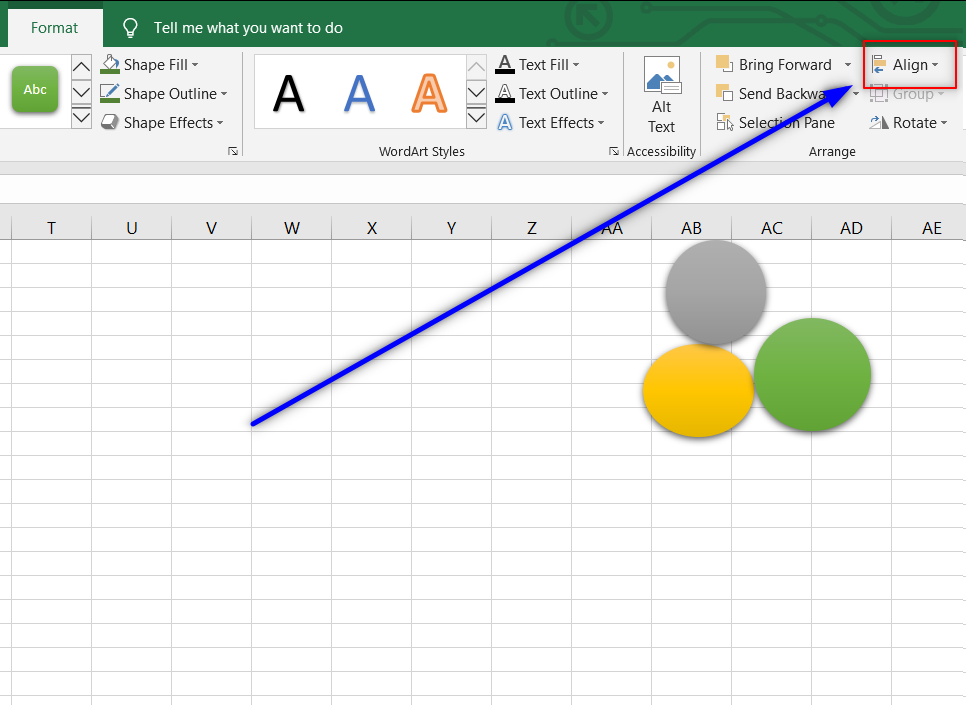
WHERE IS THE BUTTON LOCATION TO ARRANGE SHAPE OBJECTS IN EXCEL ?
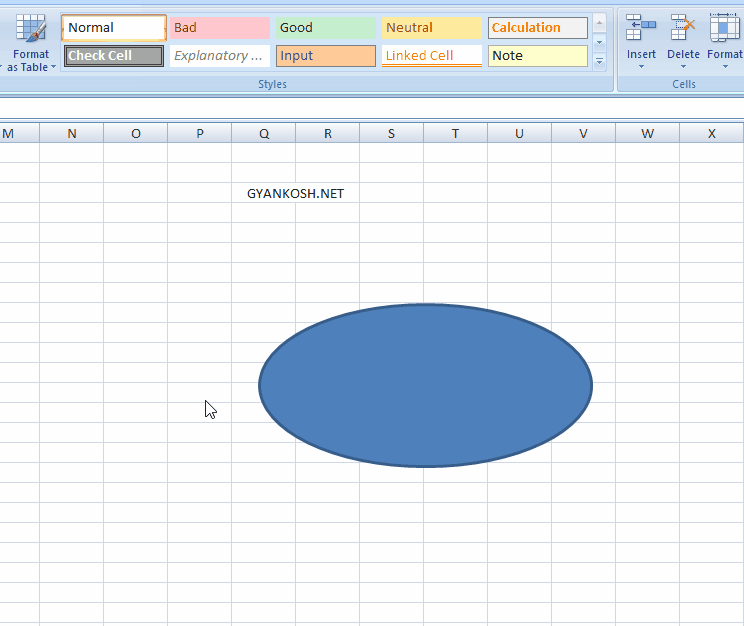
The options to arrange the shape and chart objects are found under the FORMAT TAB which appears when we select any shape object or chart object.
The options are found on the right side of the tab tools.
The picture below can be referred to locate the options.
HOW TO ARRANGE SHAPE OBJECTS IN EXCEL ?
The arrangement of the shapes means to set the order of the object one over another.
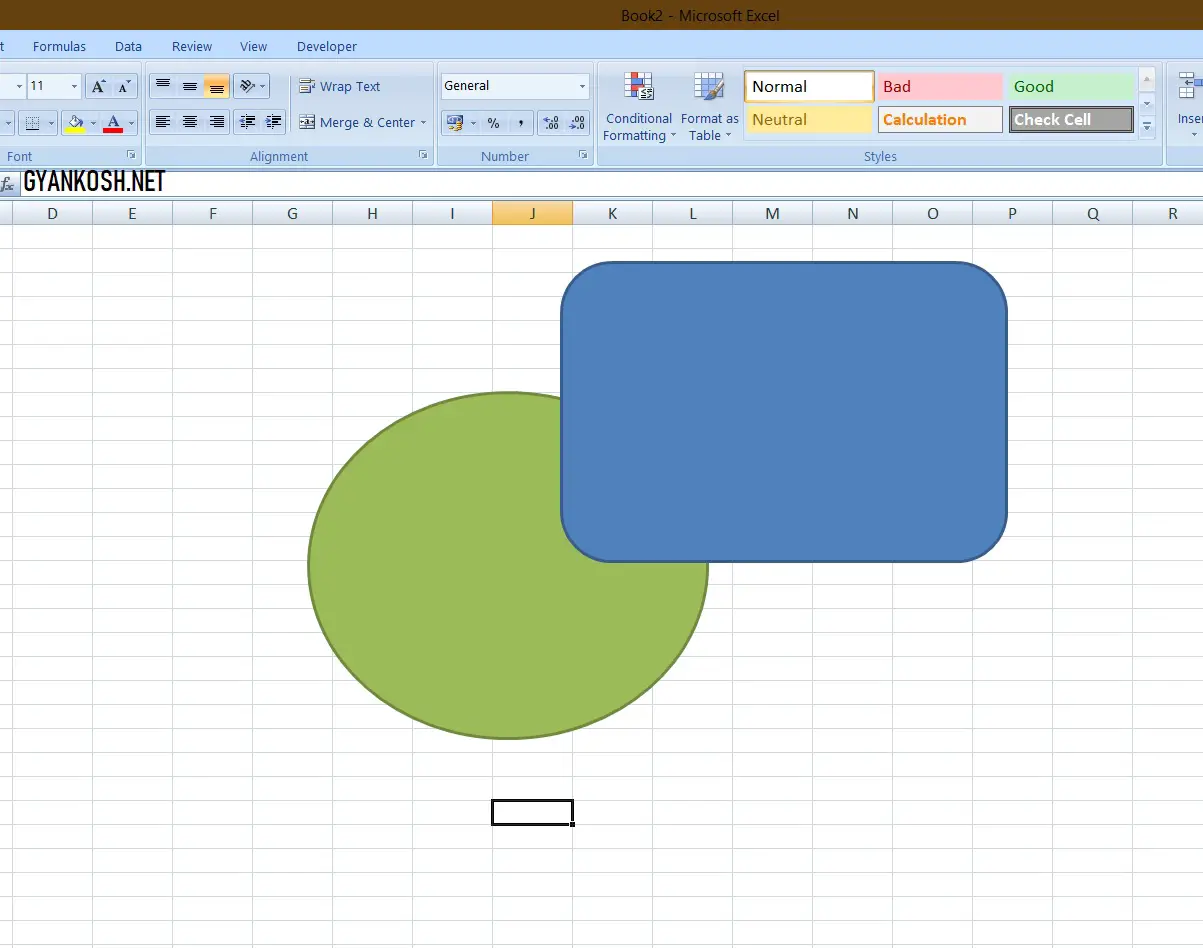
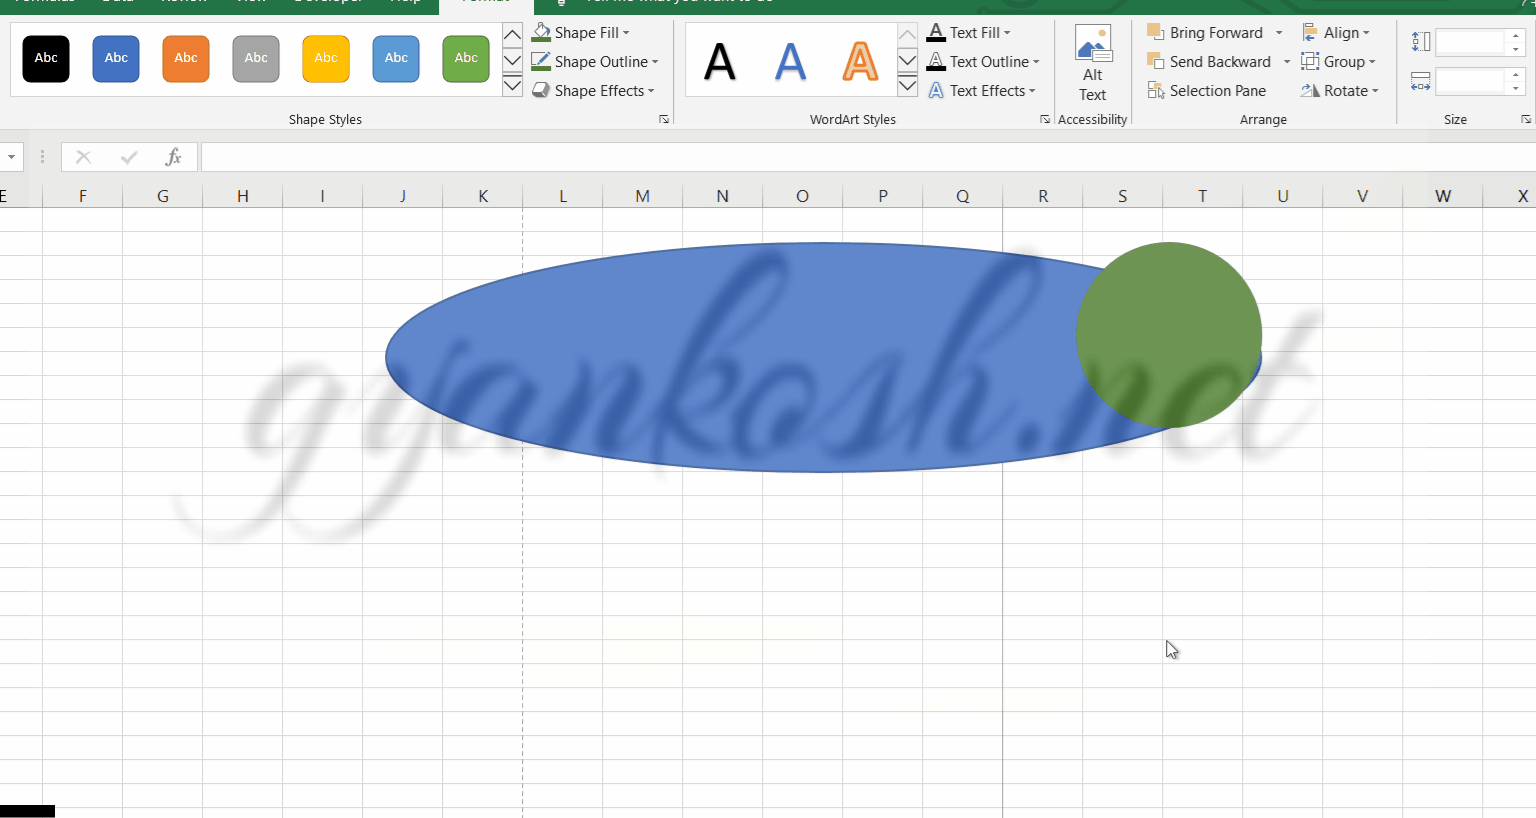
Suppose we have inserted any objects, then it may be needed to put some specific object behind the other as shown in the pic.
The rectangular figure is covering the circle.
Now if we need to put the rectangle behind the circle, follow the steps
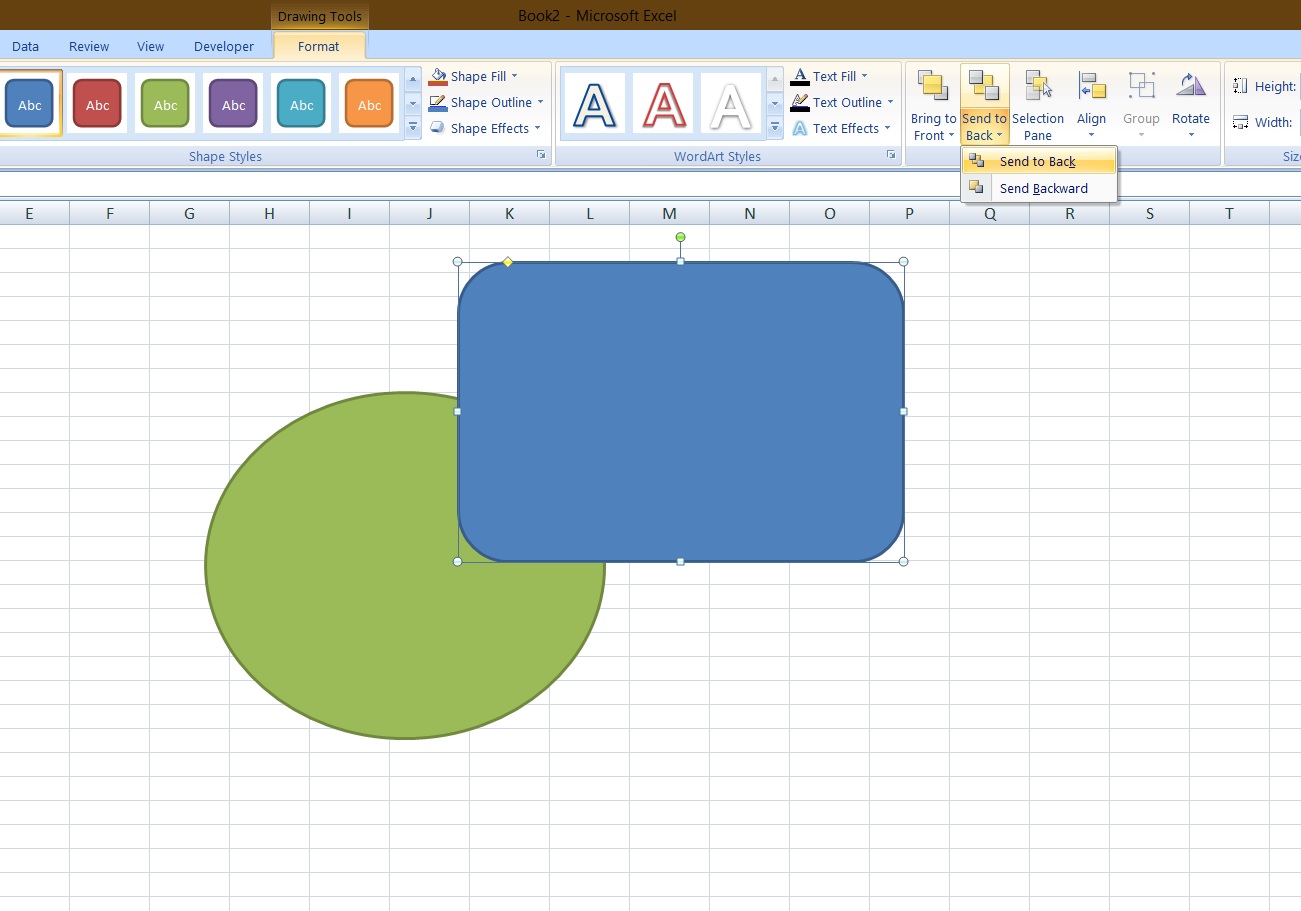
STEPS TO SEND BACK AN OBJECT IN EXCEL
Look at the picture below. The rectangle shape is overlapping the circle.
FOLLOW THE STEPS:
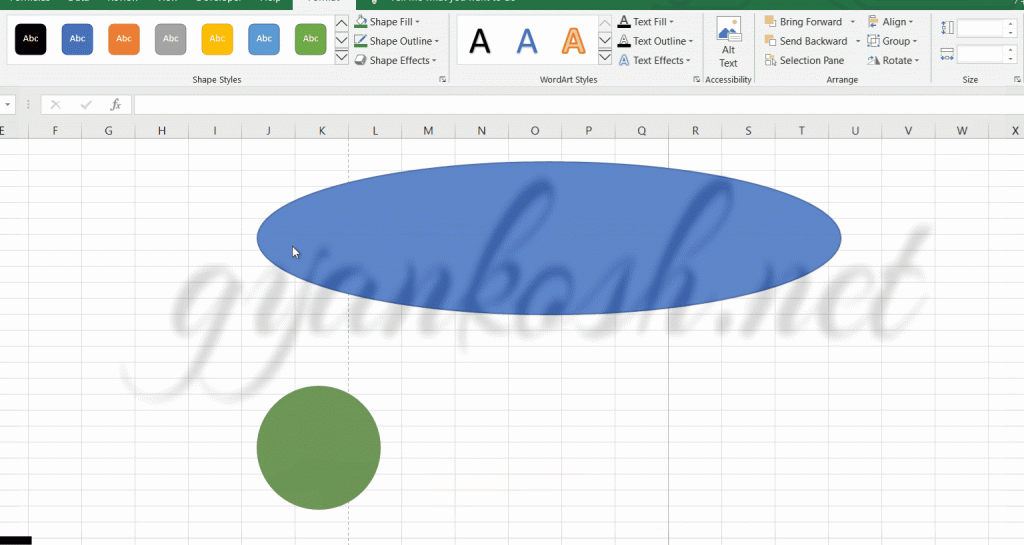
- Double Click the rectangle i.e. the shape which we want to send back. It’ll select the rectangle as well as open the option for arranging the objects will appear.
- We can see the SEND TO BACK option in the picture below.
- Now, if we simply want to SEND TO BACK which means sending the shape or object to the bottom, then click it or click the lower portion of the button and click SEND BACKWARD if we just want the object go one step down.
- REFER PICTURE ABOVE:
- Now, if we simply want to SEND TO BACK which means sending the shape or object to the bottom, then click it or click the lower portion of the button and click SEND BACKWARD if we just want the object go one step down.
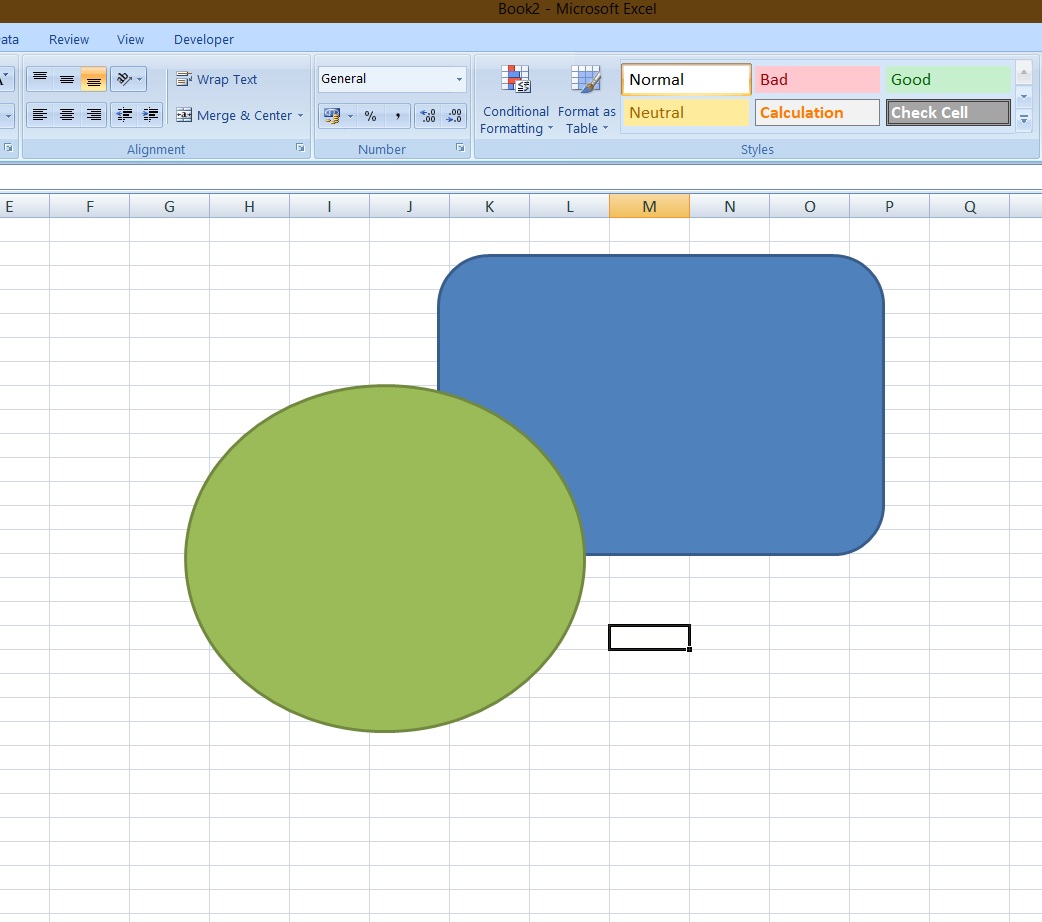
Similarly, we can bring it to the front also.
ONE MORE SUPER SPEEDY OPTION FOR ARRANGING THE OBJECTS, SHAPES, PICTURES, CHARTS ETC . IS THERE. SIMPLY RIGHT CLICK THE OBJECT AND CHOOSE FROM THE PROVIDED OPTION. SEND TO BACK AND SEND TO FRONT OPTIONS ARE PRESENT IN THE RIGHT CLICK.
HOW TO ALIGN OBJECTS IN EXCEL ?
The ALIGNMENT of objects in Excel means to place the objects in a line or in a planned fashion.
STEPS TO ALIGN THE OBJECT:
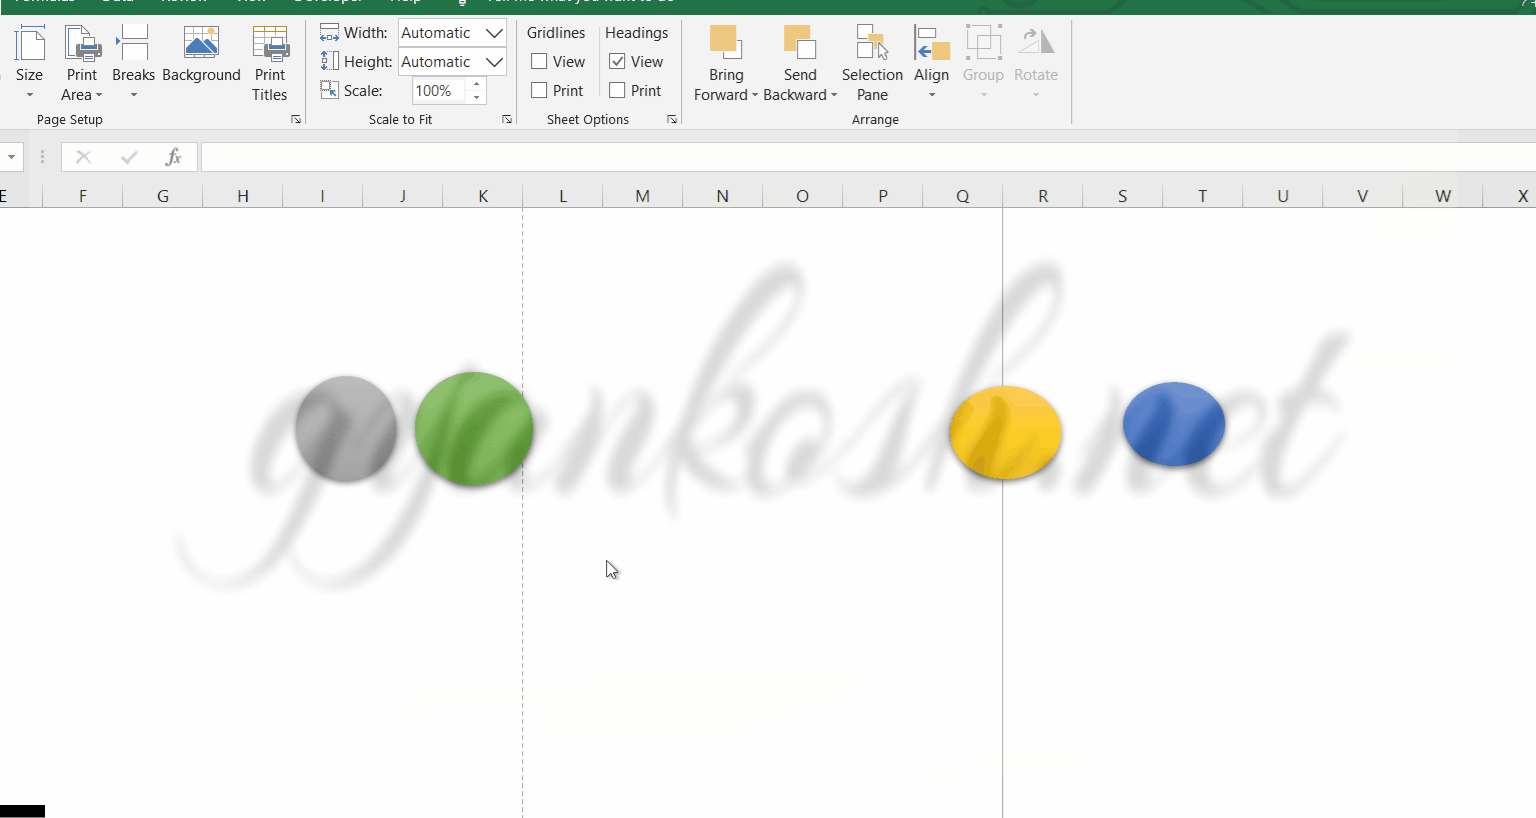
- The alignment is done between more than one object. So we need to select all the object which we want to align.
- Click the first object.
- Press control and click the other object.
- Repeat the process until all the objects are selected which we want to align.
- Now go to Align option and choose the one we want.
- As soon as we select any object, a temporary tab named FORMAT opens up which contains all the options associated with the shapes such as designing etc. On the same tab we’ll get our ARRANGE SET of options on the right side of the tab
The details of the options are given below.
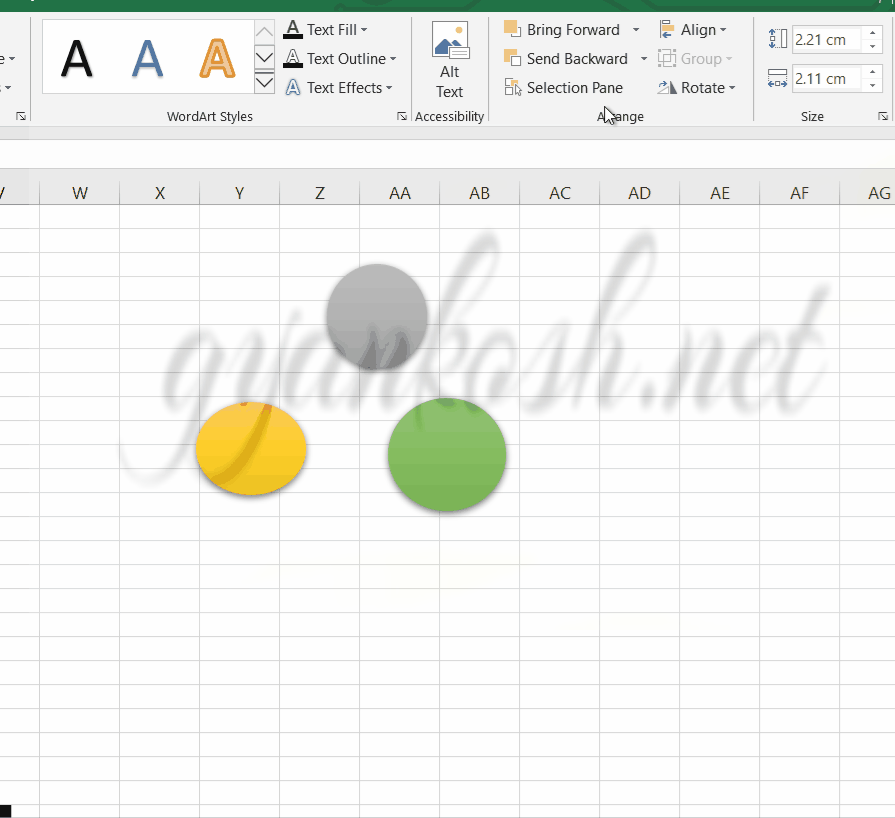
ALIGN THE OBJECT TOP, MIDDLE AND BOTTOM
ALIGN, as the word itself means to put in order or in some even fashion. We get a number of options.
Such as ALIGN TOP, MIDDLE, BOTTOM, LEFT, CENTER, RIGHT, DISTRIBUTE HORIZONTALLY, and DISTRIBUTE VERTICALLY.
REFER PICTURE BELOW:
ALIGN TOP Align the center of all the selected objects in a line.
ALIGN MIDDLE Align the center of all the selected objects in a line.
ALIGN BOTTOM Align the center of all the selected objects in a line.
ALIGN THE OBJECT LEFT, CENTER AND RIGHT
REFER PICTURE: BELOW
ALIGN LEFT Align the left of all the selected objects in a line.
ALIGN CENTER Align the center of all the selected objects in a line.
ALIGN RIGHT Align the center of all the selected objects in a line.
DISTRIBUTE THE OBJECTS HORIZONTALLY AND VERTICALLY
DISTRIBUTE HORIZONTALLY Distribute all the objects having equal distances in between horizontally.
Distribution will take place as per the center of the shapes. In the example shown the size of the shapes is almost the same but the process can be applied to any type of shape and of any size.
The center of the shapes will be divided horizontally. Please always take care that it doesn’t mean that shapes won’t overlap each other.
DISTRIBUTE VERTICALLY. Distribute all the objects having equal distances in between vertically. The distribution will take place with respect to the center of the shapes.
Similar to the horizontal distribution, it is to be noted that any type of shapes can be put for the distribution but the calculation of the distances will be on the basis of the center of the shapes.
The shapes can even overlap each other while distributing themselves.
SNAP SHAPES, CHARTS OR OBJECTS TO GRID, SHAPES AND HIDE GRIDLINES
Three more options are there.
These additional align options give us the facility to snap or stick our objects [charts, shapes, etc. to the grid or shape] .
It simply makes our objects sticky to make them more uniform and it starts sticking to the grid lines or shapes.
SNAP TO GRID: The options are not for any specific object but will be applicable to the sheet. The objects will become sticky towards the grid and would try to stick any of their edge or end portions to the grid. It is just a helping feature and doesn’t mean that the shapes would stick necessarily.
SNAP TO SHAPE: In the previous option, the shapes starts sticking to the grid and in this case the shapes starts sticking to the other SHAPES.
VIEW GRID LINES: Make the grid lines visible if selected and remove them if deselected.
HOW TO ROTATE OBJECTS [ SHAPES, OBJECTS ] IN EXCEL ?
The rotation of the shapes is also required frequently when dealing with graphics in Excel.
STEPS TO ROTATE OBJECTS IN EXCEL:
- Select the object.(Shape)
- Double click it. The options will open. The name of the temporary tab is FORMAT. Click it , if not opened there directly.
- Click on the ROTATE BUTTON and rotate as per requirement.
- If any customized rotation is needed, go to MORE ROTATION OPTION.
- We can rotate it to any degree as per need.
- The complete demonstration is given in the following animation.
So, these are simple but very important functions that are required many times in Excel. So, in this article, we learned about different ways to Arrange, align or rotate the objects in Excel.
FAQs
HOW TO GROUP THE SHAPES IN EXCEL?
Select all the shapes together.
Follow the steps to group the shapes.
- Click on the first shape, it’ll get selected.
- Press Control [ CTRL ] and click on the second shape, which will get selected too.
- Repeat the procedure to select all the objects which you want to group together. [ Keep CTRL pressed, and click all the shapes to be grouped ]
- Right Click and choose GROUP> GROUP.
- The shapes will be grouped.
HOW TO SELECT ALL THE SHAPES OR PICTURES OR OBJECTS IN EXCEL [ SHORTCUT ] ?
The commonly known shortcut to SELECT ALL is CONTROL+A, but it won’t select your shapes.
To select all the shapes, follow the steps.
- Click any of the shapes.
- Press CTRL+A.
- All the shapes will be selected.
HOW TO SELECT MULTIPLE SHAPES OR PICTURES OR OBJECTS IN EXCEL [ SHORTCUT ] ?
We just learned the way to select all the shapes in Excel. Let us find out the way to choose multiple shapes in Excel.
To select multiple shapes, follow the steps.
- Click the first shape.
- Press CTRL and keep it pressed.
- Sequentially click all the shapes to be selected. [ Keep CTRL pressed while pressing the mouse ]
- All the shapes will be clicked.
HOW TO ASSIGN A MACRO TO ANY SHAPE IN EXCEL?
- Simply RIGHT CLICK the shape and choose ASSIGN MACRO.
- The MACRO LIST will open.
- Choose the MACRO which is to be assigned to the selected shape.
- Click OK.
The macro will run when the shape is clicked.
I ALIGNED THE SHAPES TO THE LEFT, BUT IT DIDN’T MOVE.
Aligning the shapes to left, right, top, bottom or center doesn’t move them to the left, right, top, bottom, or center of the sheet but it aligns the shapes with respect to each other.
For example, if we have four shapes that are separate in Excel and are selected and aligned to left, All the shapes will be brought together and the left axis or boundary of the shapes will coincide i.e. overlap.
Similarly, it acts for all the alignments.