Table of Contents
- INTRODUCTION
- WHY WE NEED TO DRAW IN GOOGLE DOCS?
- WHERE IS THE BUTTON TO DRAW IN GOOGLE SHEETS ?
- HOW TO DRAW IN GOOGLE DOCS?
- DIFFERENT PARTS OF THE DRAWING WINDOW
- DESCRIPTION
- EXAMPLE: DRAW A CIRCLE IN GOOGLE DOCS
- HOW TO ARRANGE THE GRAPHICS / IMAGES IN GOOGLE DOCS WITH TEXT
INTRODUCTION
GOOGLE DOCS is the word editor offered by GOOGLE.
Google docs is getting popularity among the users due to its ease of sharing the data with protection and access control.
So, it becomes important to learn the basic techniques in the google docs which are helpful for our day to day work.
In this article, we are going to learn how to draw in google docs.
WHY WE NEED TO DRAW IN GOOGLE DOCS?
Graphics are a very easy way to explain much of the theory with the ease of understanding.
We need to make use of the graphics in different documents for the better understanding of the concepts or data given in the text.
Now there are few ways of using the graphics in the Google Docs.
- We can import a ready to use picture which fulfills our purpose.
- We can create the graphics in any other application and then import it.
- We can make use of the DRAWING CAPABILITY of the google docs and use it.
In this article , we’ll focus on the WAY NO. 3 in which we can create the graphics by drawing them in the Google Docs itself.
WHERE IS THE BUTTON TO DRAW IN GOOGLE SHEETS ?
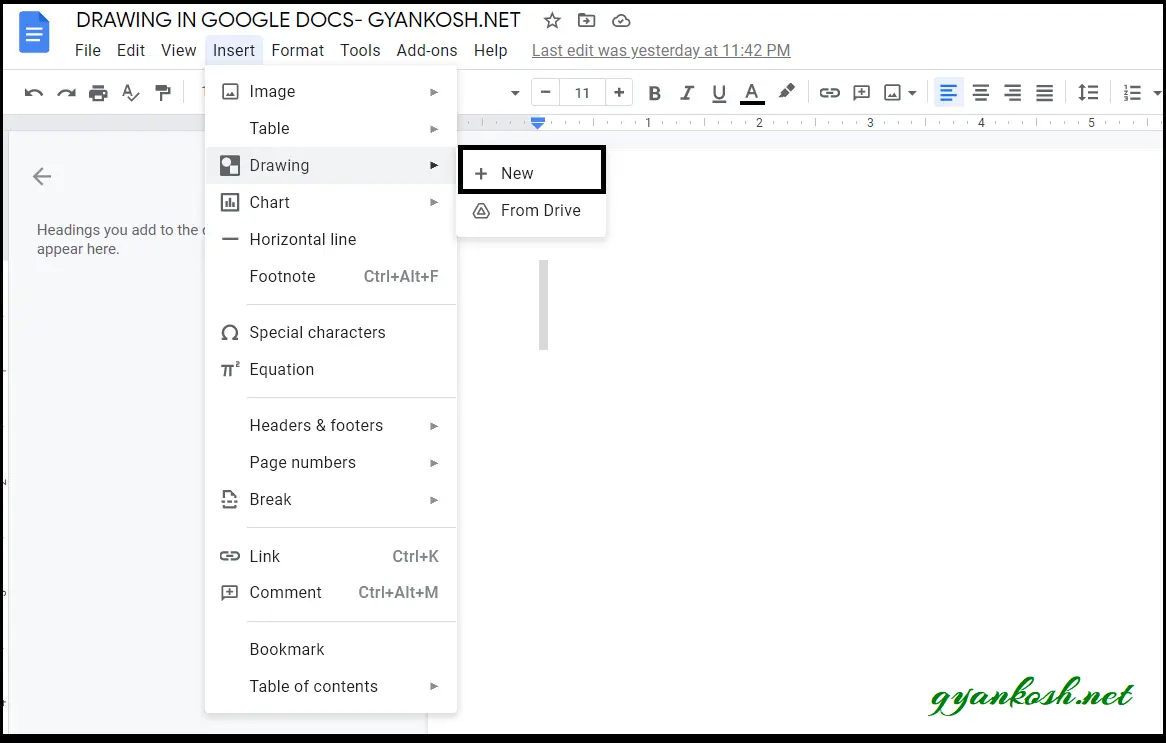
The drawing option is present under the INSERT MENU > DRAWING > NEW
HOW TO DRAW IN GOOGLE DOCS?
So let us start learning the way to draw in google docs.
Follow the steps to reach the Drawing Canvas in the google docs.
Open the GOOGLE DOCS.
Create a new page or open the page where you want to draw the graphics.
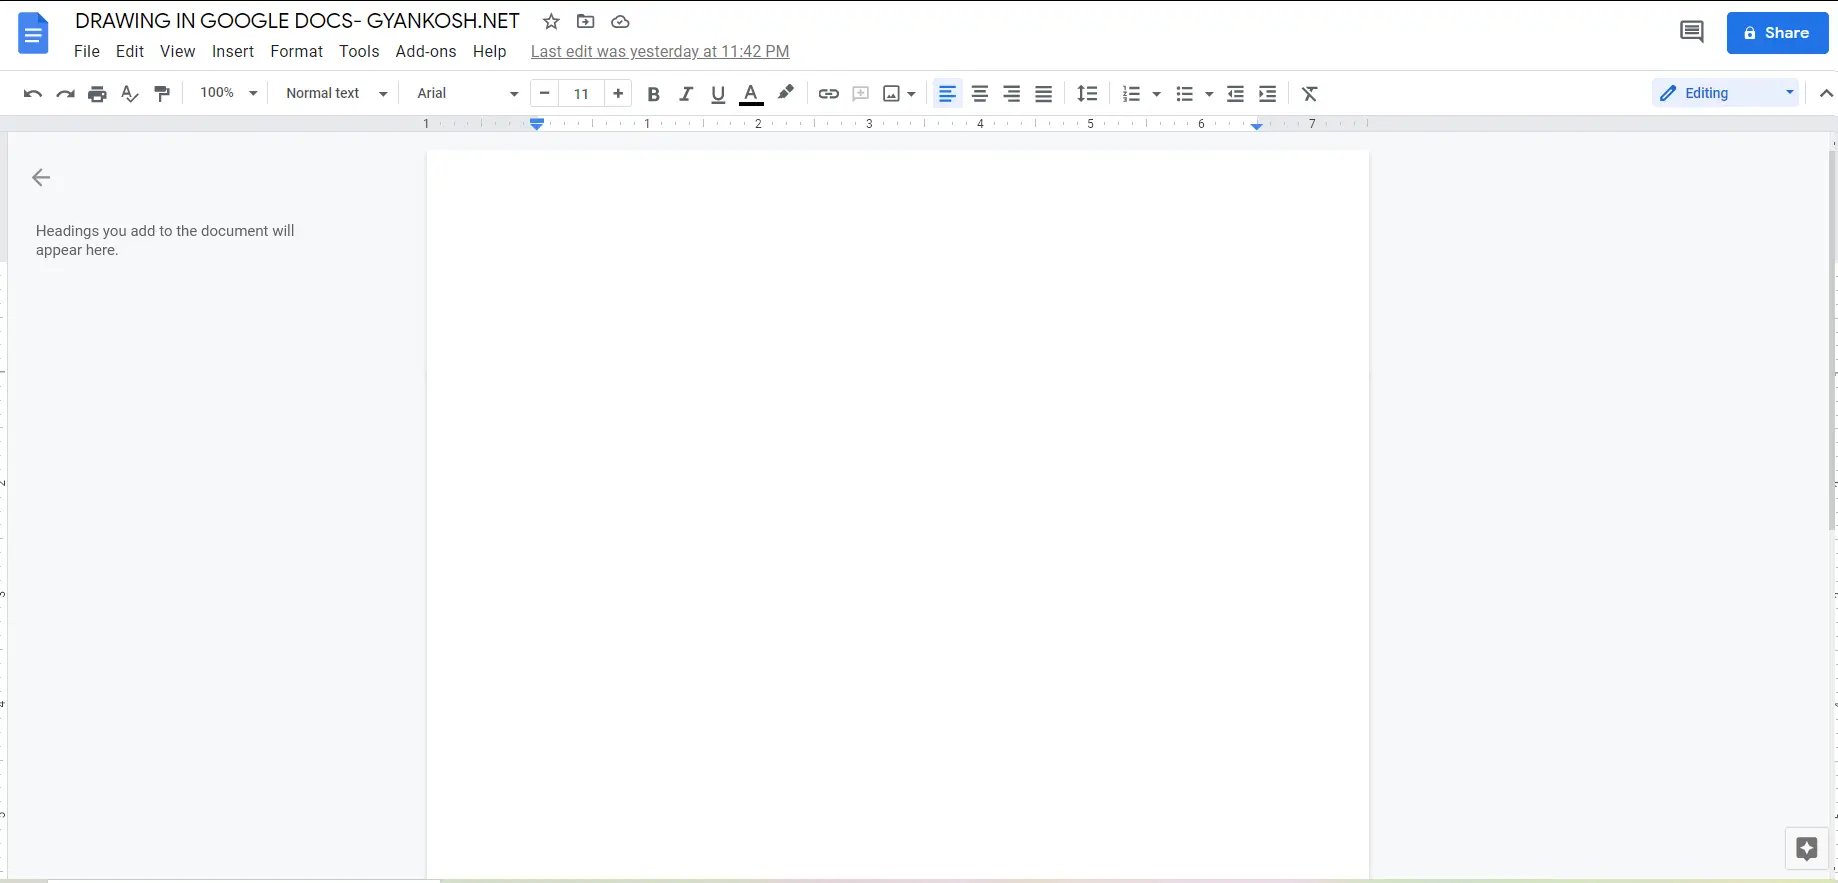
The page is opened.
Go to INSERT MENU > DRAWING > NEW.
It’ll open the drawing canvas in the new window.
After the canvas or Drawing window is open, we can draw in the window and import it to our document simply.
Let us now learn the different options available in the drawing window.
DIFFERENT PARTS OF THE DRAWING WINDOW
Let us check the different options available in the drawing window.
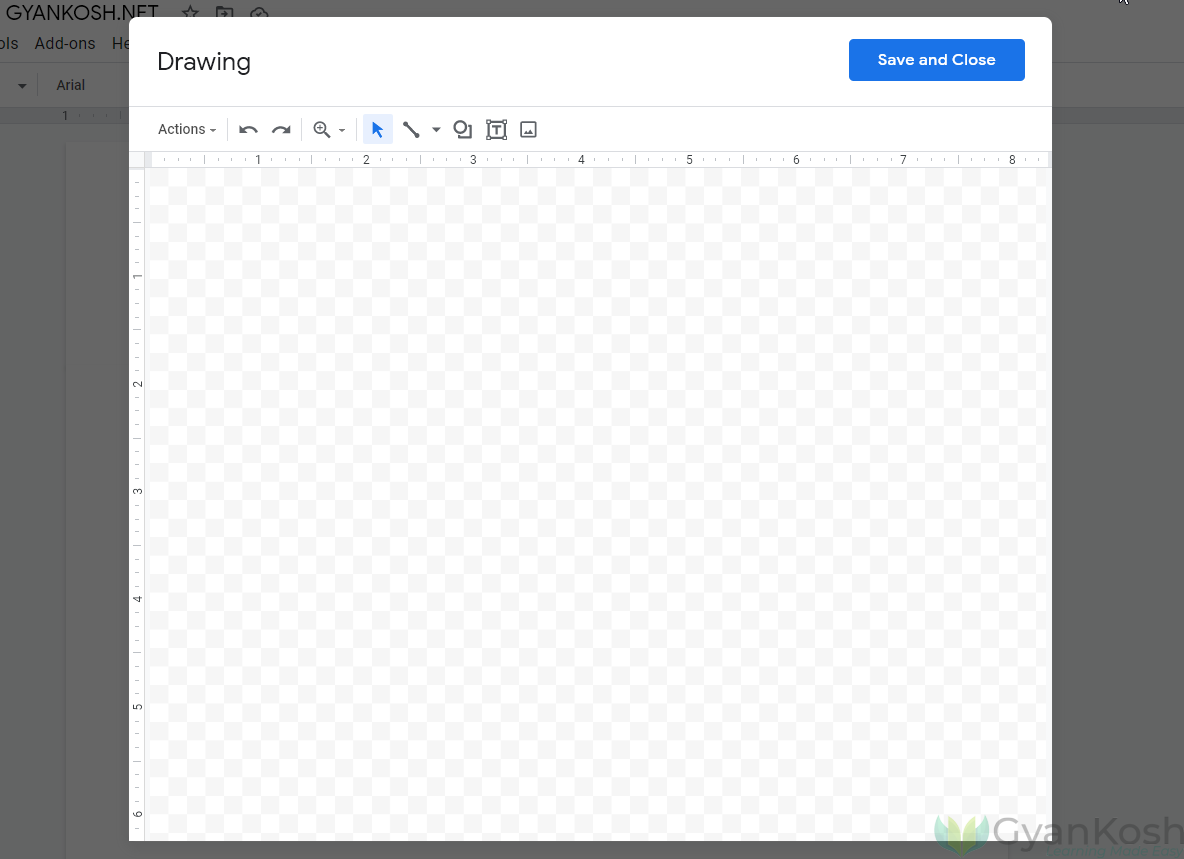
The following picture gives an overview of the drawing options available

DESCRIPTION
UNDO ACTION:
Reverse the action you just did. If you have created something which you want to reverse, you can use this button. One click will take you one step back.
REDO ACTION:
It’ll repeat the action. It is opposite of undo. If you have reached prior to the action you wanted to reach, you can use it to again go forward.
ZOOM:
Increase the size of the different things [ visually only ]
SELECT:
Select the object and move it or apply other actions.
LINE:
Different types of lines available to be chosen from. We can select and draw these lines.
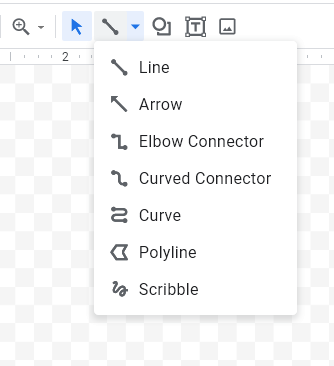
| LINE TYPE | DESCRIPTION |
| LINE | SIMPLE STRAIGHT LINE |
| ARROW | A SIMPLE STRAIGHT LINE WITH ARROW ON ONE SIDE |
| ELBOW CONNECTOR | ELBOW TYPE LINE. A LINE WHICH WILL HAVE TWO RIGHT ANGLE ROTATIONS AS SHOWN IN THE ICON |
| CURVED CONNECTOR | SAME AS ELBOW TYPE LINE BUT THE CURVES ARE SMOOTH AND NOT RIGHT ANGLED |
| CURVE | A CURVED LINE |
| POLYLINE | STRAIGHT LINES WHICH CAN BE USED TO CREATE A POLYGON. KEEP ON CLICKING AND THE NEW POINT WILL BE JOINED TO THE OLD ONE USING A STRAIGHT LINE. |
| SCRIBBLE | FREE LINE. SIMPLY SCRIBBLE AND A LINE WILL BE CREATED EASILY. |
SHAPES:
Choose any shape from the exhaustive list to draw.
TEXT BOX:
Insert a text box. Text box is a separate entity containing the text which behaves as a separate text in the document. It can be rotated, put upon the other text and so on.
IMAGES:
Insert a ready image into the drawing canvas which can be further modified using the tools.
CANVAS::
The working area, where we draw.
STEPS TO CREATE GRAPHICS IN GOOGLE DOCS
Now, we are acquainted with the drawing screen , it is time to create our first graphics.
EXAMPLE: DRAW A CIRCLE IN GOOGLE DOCS
Follow the steps to draw a circle in google docs:
- Open google docs and open the page you want to insert the circle in.
- Go to INSERT MENU > DRAWING> NEW.
- The drawing window or canvas will open.
- Select the SHAPE OPTION.
- Select SHAPE and choose circle as shown in the animation below.
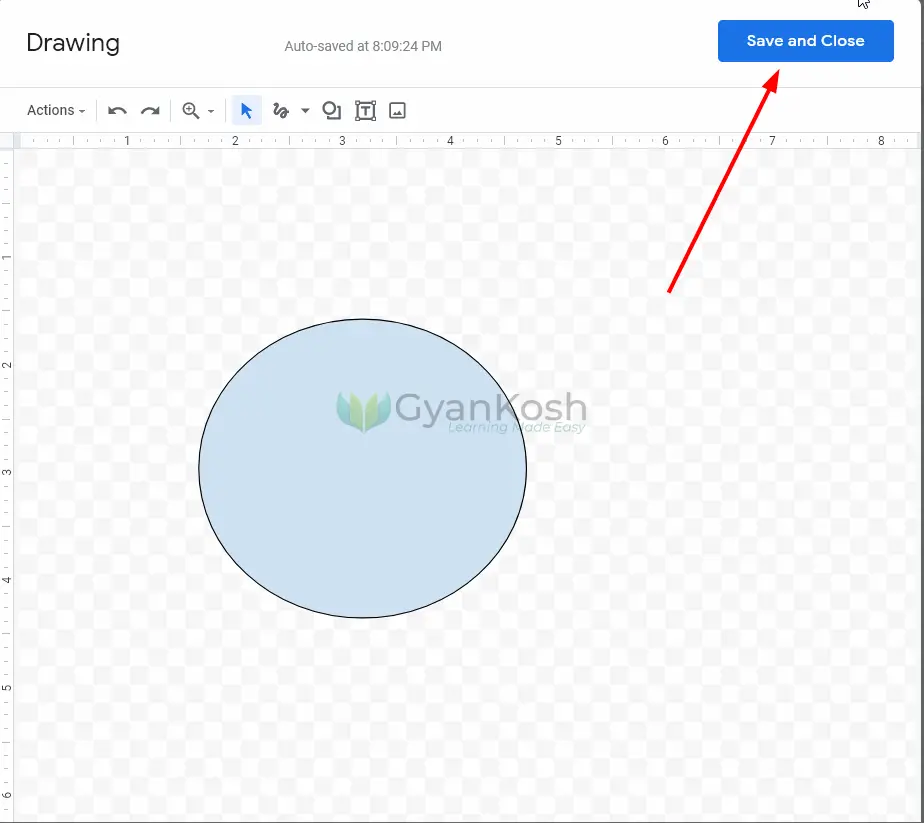
- Click anywhere on the canvas and drag it across, a circle will appear.
- The process is shown in the picture below.
After the circle is complete , click SAVE AND CLOSE in the upper right corner of the screen.
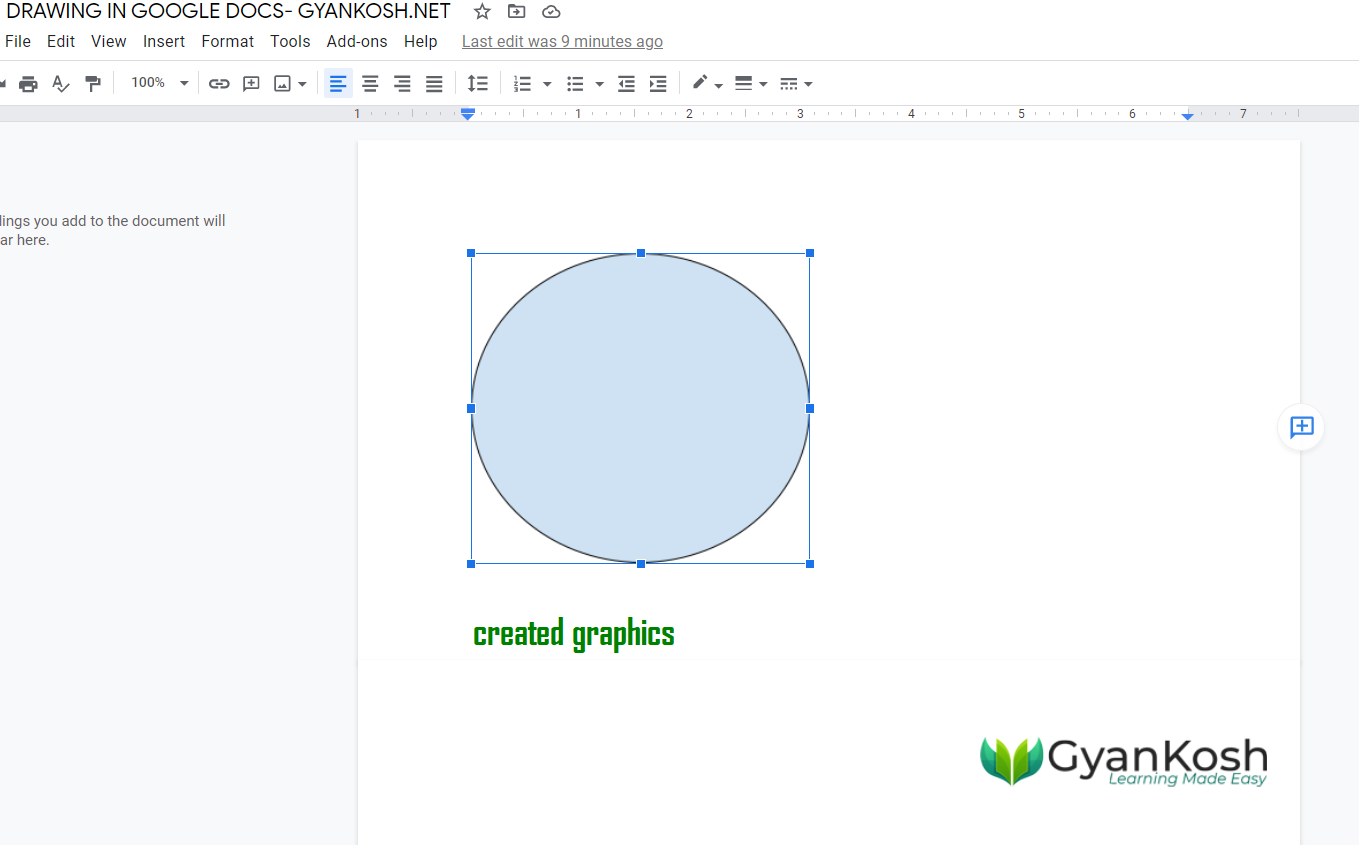
After clicking the save and close, the created graphics i.e. our circle, will be imported into the main document as shown in the picture below.
After the graphics has been added into our document , the next issue is the way we want to arrange our graphics. [ or circle in our example ].
HOW TO ARRANGE THE GRAPHICS / IMAGES IN GOOGLE DOCS WITH TEXT
After the graphics has been drawn and imported into the document, we can arrange it in different ways with the text such as
FOLLOW THE STEPS TO SELECT THE IMAGE PLACEMENT IN THE TEXT IN GOOGLE DOCS
- Select the graphics by clicking it.
- The option will appear below the picture.
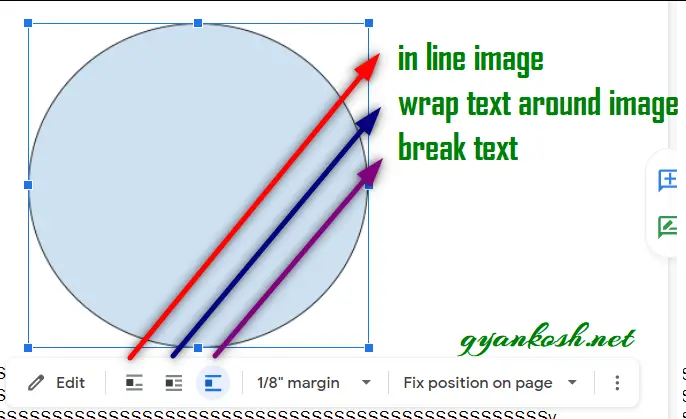
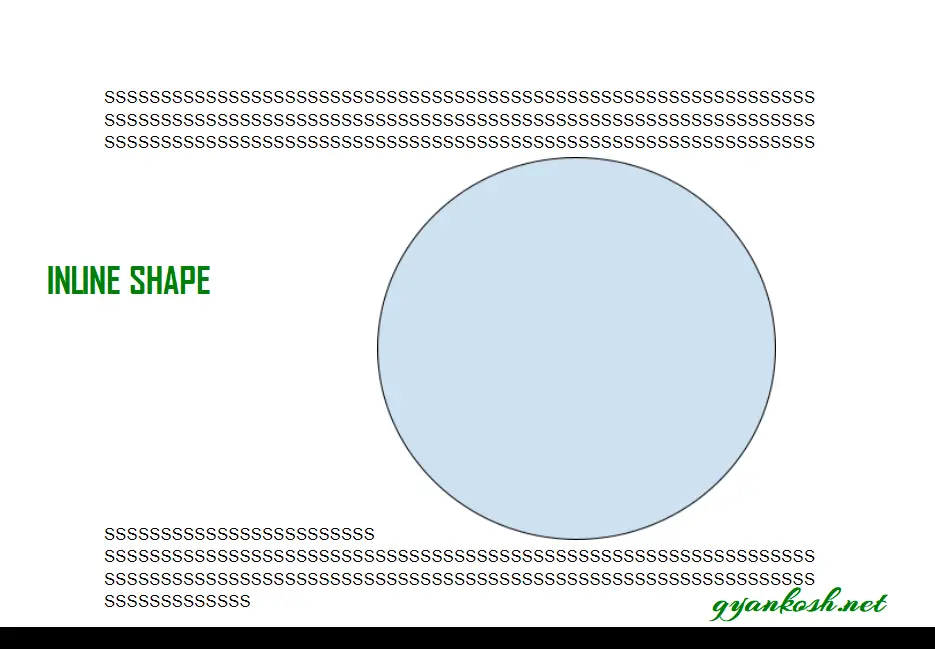
- IN LINE WITH THE TEXT: We can put the image or the drawn graphics in line with the text. It means that the image will be in the same line as the text. After the image, the text will continue.
The following picture depicts the situation.
- WRAP TEXT AROUND THE GRAPHICS : We can make the selection to wrap the text around the image.

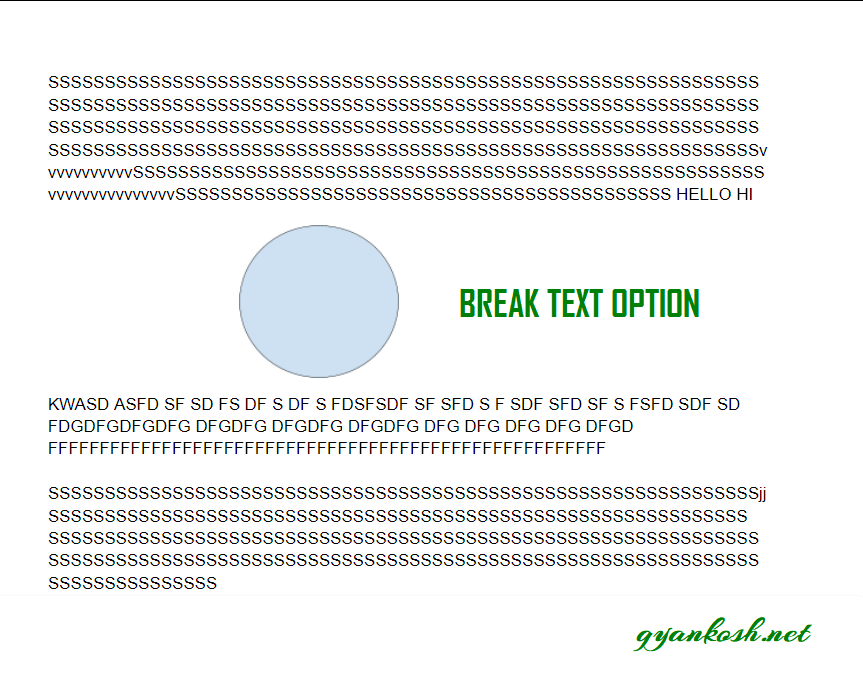
- BREAK THE TEXT : This option will break the text, place the graphics in between the text and after the image, the text will continue.
We just discussed the way to draw in Google Docs.
Further addition will be done in the article.