Table of Contents
- INTRODUCTION
- BUTTON LOCATION FOR DATA VALIDATION IN EXCEL
- STEPS TO CREATE A DROP DOWN LIST IN EXCEL
- ADDING INPUT MESSAGE FOR THE LIST
- RUNNING THE EXAMPLE
INTRODUCTION
Data validation means to check the data before entry. It gives us the power to condition the values which can be entered and rejected into any cell.
The data validation is a very important aspect of any data filling job. Many a times we have fields which have limited type of entries and which can’t be given to the user for manual entry.
PROBLEM WITH MANUAL ENTRY
If we have to work on the manual entries after the data has been filled , it can cause so much trouble for us if the data is not in the perfect format. If we keep the field just open for the entry, if there are a number of people fillling up that data , there are bright chances of format problems.
Now imagine if we have a 1000 rows and there are slight differences in the format of the entry, no matter it was done by different people, we ‘ll never be able to work on that and we might end up in correcting all the data wasting our time and resources.
SO, FOR SUCH CASES WE ALWAYS PREFER CREATING A LIST FOR A FIRM FORMAT AND CONTROLLING THE ENTRY OF THE DATA.
You must have seen this a lot when we are filling up any form online. We are given either the options of lists to choose from.
So , the same option we have in the EXCEL too. Let us try to create a simple DROP DOWN LIST.
If you want to create a DEPENDENT DROP DOWN LIST then CLICK HERE.
If you want to create a DYNAMIC DROP DOWN LIST then CLICK HERE.
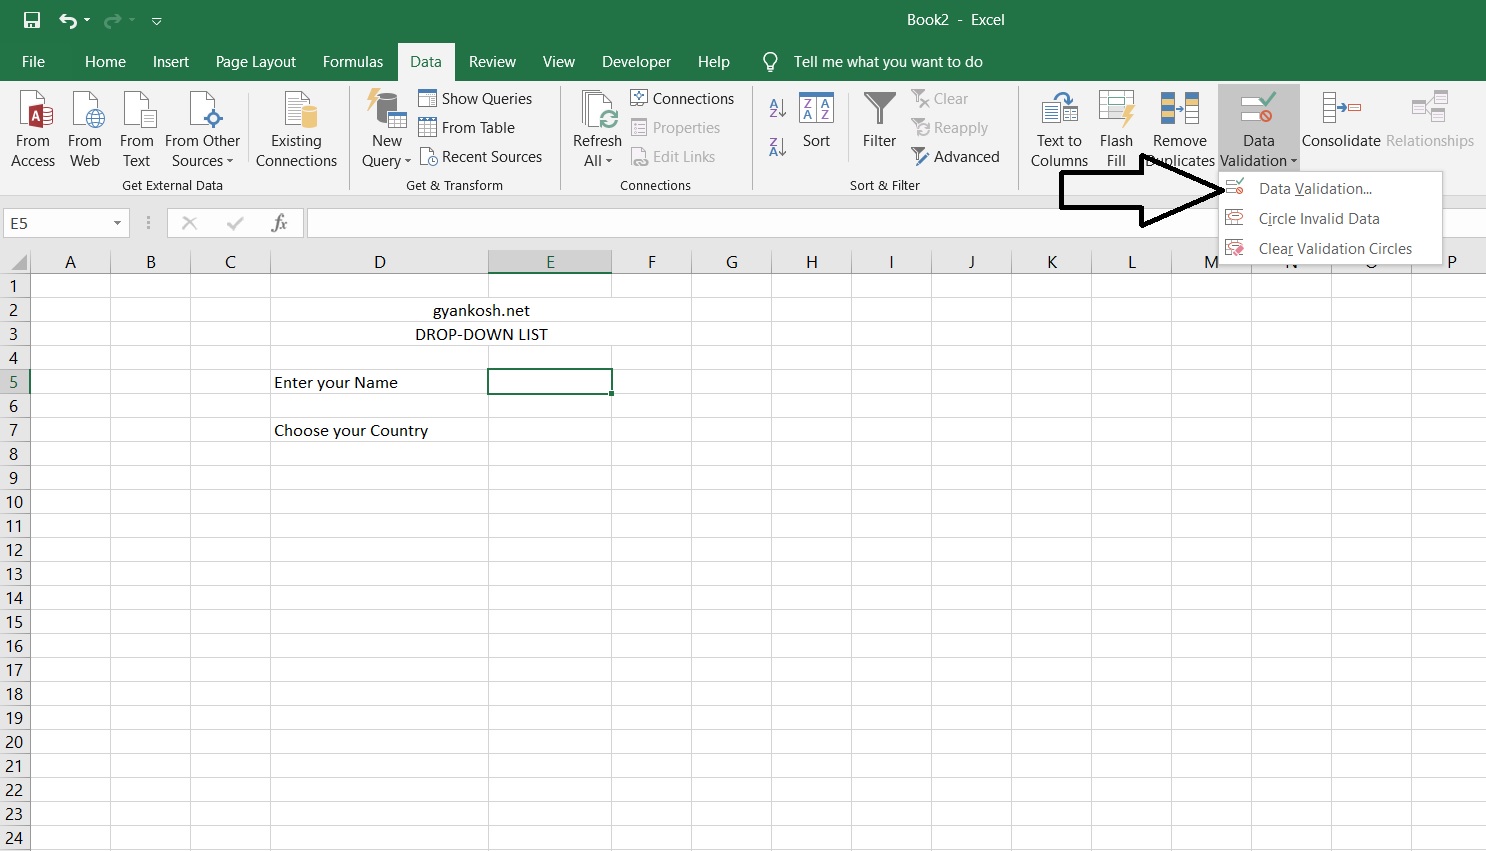
BUTTON LOCATION FOR DATA VALIDATION IN EXCEL
The list creation is done with the help of DATA VALIDATION option in the EXCEL. So we need to use the same button as for data validation as creating list is one of the sub option of data validation.
- Go to DATA TAB.
- Go to Data Validation and choose data validation.
STEPS TO CREATE A DROP DOWN LIST IN EXCEL
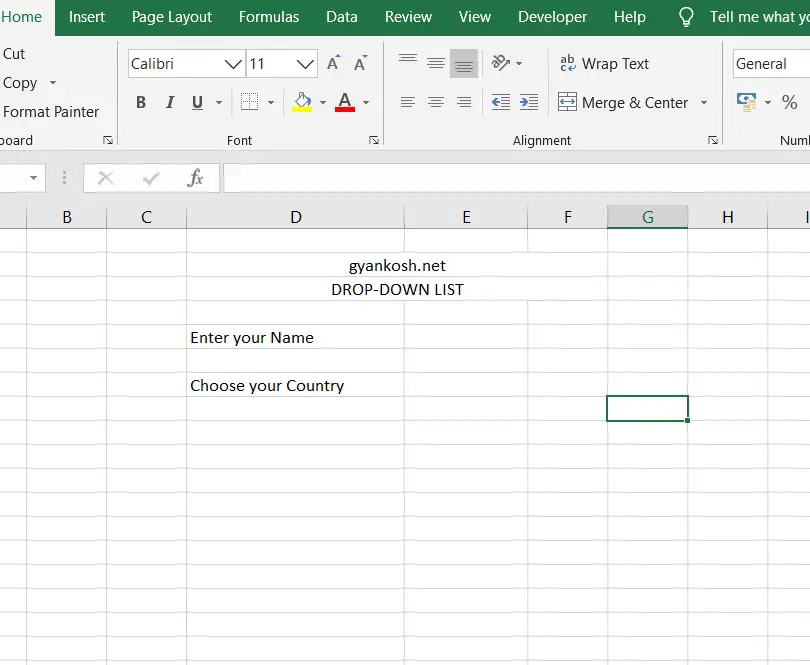
EXAMPLE SET UP
We’ll create a small form with a name and country.
The country part will be selected from a drop down to understand the way we can set up a drop down list.
The scenario is clear from the picture given below.
SETTING UP THE DATA
SETTING UP THE DATA
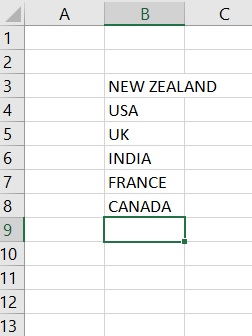
The first requirement for creating a list is the data which should be kept in a list.
The data can be in the same sheet, where we are creating a list or we can keep it in another sheet
to avoid any mess in the same sheet. We can hide the sheet too or lock it with a password
if we need security too.
The following picture shows a list of countries which we will be using to create a drop down list.
ADDING THE DATA TO THE LIST
- Place the cursor or select the cell where we want to create the list.
- Go to DATA TAB>DATA VALIDATION>DATA VALIDATION.
- The following dialog box will open.
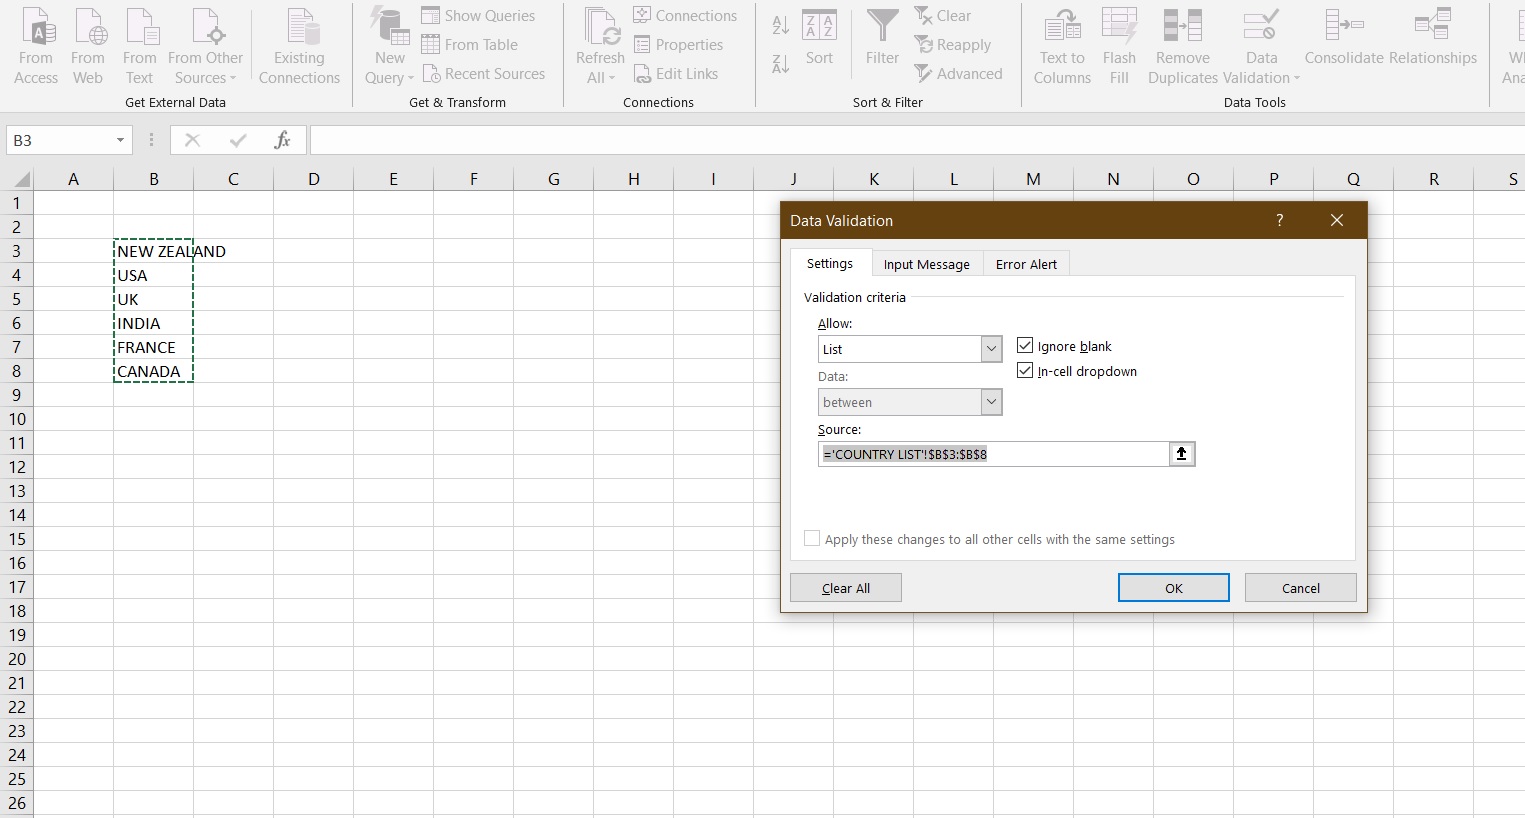
- In the dialog box check IN-CELL DROPDOWN and choose LIST.
- Now SOURCE will be activated.
- Choose the list from the country name sheet to put the range in the SOURCE FIELD.
- The name can be put manually or can be chosen using the mouse.
- Click OK.
- The list is ready.
ADDING INPUT MESSAGE FOR THE LIST
INPUT MESSAGE
The list gives us the option of putting an input message for the ease of the user. Here are the steps to add an input message.
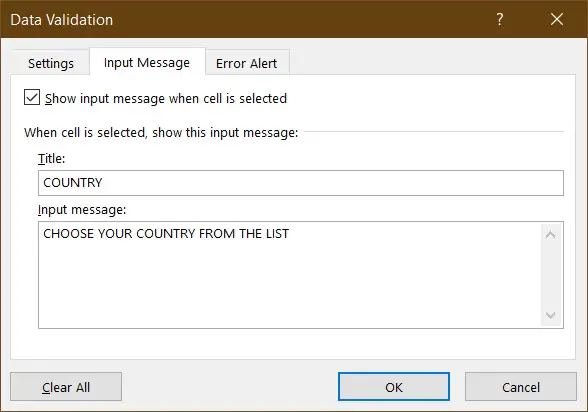
- After selecting the source for the list, don’t press OK but move to second tab which is INPUT MESSAGE.
- INPUT MESSAGE contains two fields for the TITLE and INPUT MESSAGE.
- Put a title for the message as for our example we have put COUNTRY and put the message in the MESSAGE FIELD as we have put “CHOOSE YOUR COUNTRY FROM THE LIST”.
This helps the user to know what is to be done in the particular cell.
Now we have another option of setting an error alert. If we want to set it , go to next tab named ERROR ALERT or press OK , if we don’t want to set an error alert.
ERROR ALERT
Although , this option is not directly applicable to the drop down list as we have already given the choices, but even then if any error occurs, its always a good practice to keep some error catching system in our work.
Here are the steps to use the ERROR ALERT for the list.
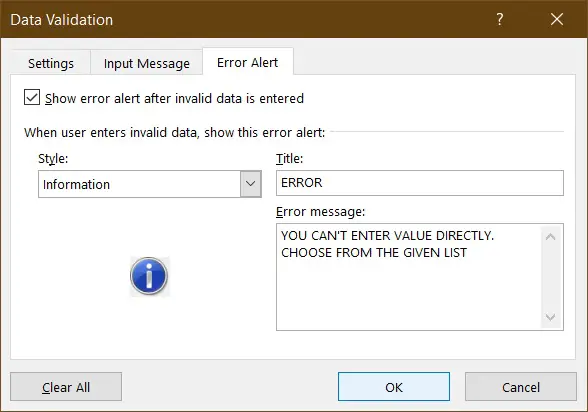
After putting the input message, go to the next tab “ERROR ALERT”.
REFER TO THE PICTURE ABOVE.
We have an option of STYLE which contains three options
STOP, WARNING OR INFORMATION.
Another is TITLE AND ERROR MESSAGE
TITLE: Title of the error message. (stop, warning or information message).
MESSAGE:Message what we want to display to the user if error occurs.
STOP:It’ll stop the data entry.
INFORMATION: Just the information about the entry.
WARNING: Warning about the entry.
RUNNING THE EXAMPLE
Now our example is ready to be checked.Let us check the example.
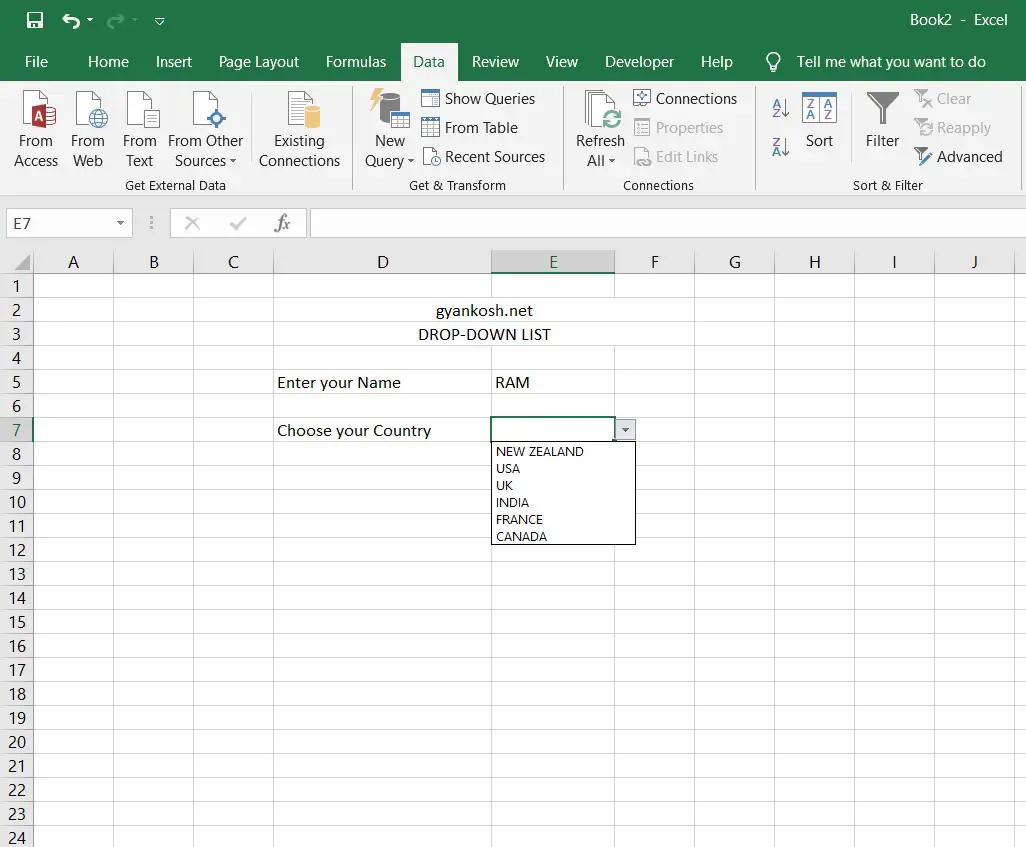
We can see the example is having two entries one for the name and
other one is the list.
We can choose the country from the list.
We have created the list as we desired.
If you want to create a DEPENDENT DROP DOWN LIST then CLICK HERE.
If you want to create a DYNAMIC DROP DOWN LIST then CLICK HERE.