Table of Contents
- INTRODUCTION
- WHERE TO FIND BUTTON LOCATION OF MACRO IN EXCEL ?
- STEPS TO CREATE A MACRO IN EXCEL
- ANIMATED EXAMPLE OF CREATING A MACRO
- HOW TO RUN A MACRO IN EXCEL ?
- ANIMATED EXAMPLE TO RUN MACRO
INTRODUCTION
How many times you repeated the same steps while creating some report in EXCEL?
It is for sure that such routines come in the way of each and everyone of us while working in Excel. For such situations, Excel provides us with an option called MACRO.
MACRO is a system of recording the steps which we have performed in Excel.
Suppose there are a number of steps in any calculation . For example, suppose we are given a task in which we need to do the following operations.
Firstly, adding the first and third cell, then subtracting the third cell from the fourth one, then adding the first with the four and so on.
The number of operations is big say 100.
Now if we have to repeat such operations twice or more than that and we start doing all those manually, we can imagine how much time it would take.
Or we can just create a MACRO, that is record all the operations and just click a button next time , and all the work is done with in a second.
So, MACRO is again one of the very important portion of the EXCEL.
In fact, MACRO is the front end of the VBA which is itself a complete programming language which allows us to do almost anything with our data.
In this article we’ll focus on the following.
- What is Macro
- How to Create Macro
- How to Run Macro
- A fully described Example of creating and running Macro
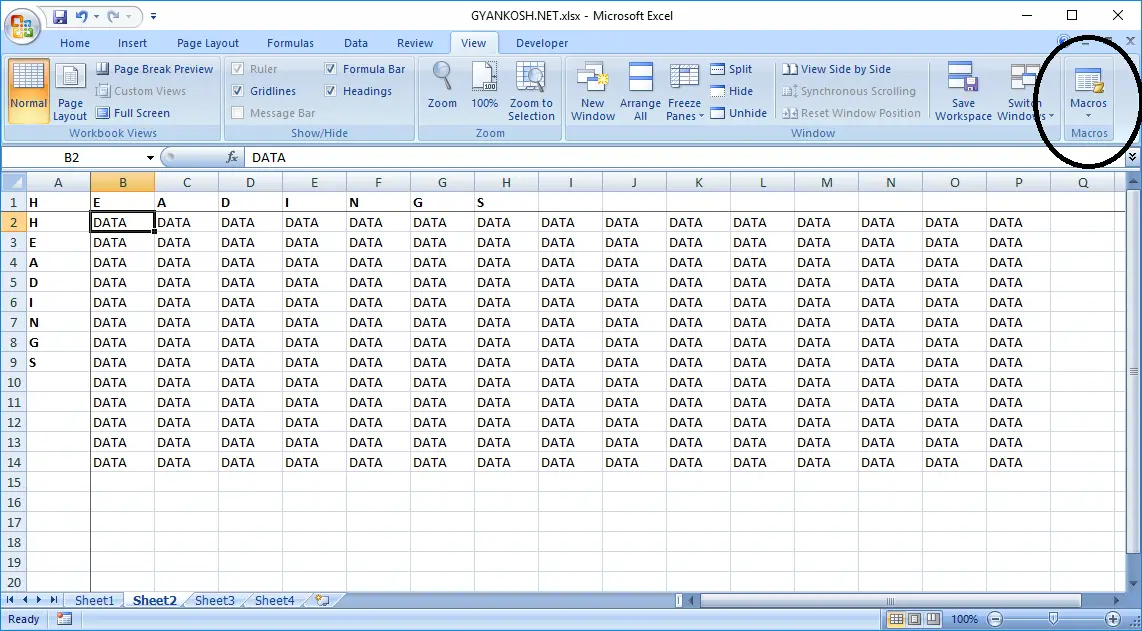
WHERE TO FIND BUTTON LOCATION OF MACRO IN EXCEL ?
The MACRO button is located under the VIEW TAB under MACROS section which is mostly to the extreme right of the ribbon.
STEPS TO CREATE A MACRO IN EXCEL
MACROS CREATION is quite simple. Here are the steps for creating and Macros.
- Press the LOWER MACRO BUTTON
.
- Press RECORD MACRO.
- The Macro will start recording your steps. Before this check the status of USE RELATIVE REFERENCES.
- (It’ll make MACRO more useful as the Addresses will be relative rather than ABSOLUTE.
- ABSOLUTE address means that if we are working on cell A9, the macro would work on A9 only even if the data is not present there, whenever we are repeating the process using MACRO and not on other cells. Relative MACRO would record the steps as, 1 to the left, 1 to the right and not by the cell address.
- The option is present on the bottom menu of MACRO BUTTON only.
- After the process is complete, press STOP RECORDING under the MACRO LOWER BUTTON.
ANIMATED EXAMPLE OF CREATING A MACRO
The following animation shows the complete process of creating a macro in Excel.
DESCRIPTION OF ANIMATED SCENARIO:
- The example shows a series of operations where 5 is added to the BASE NUMBER first.
- After this the number is divided by 5.
- The end result is joined with a text “You are ” using the CONCATENATE FUNCTION and the result is achieved.
- The process of performing this is same as discussed before picture.
HOW TO RUN A MACRO IN EXCEL ?
Use the following steps to run a MACRO
STEPS:
- After a macro has been created it is stored for future use.
- CLICK MACRO button.
- Following Dialog BOX will open.
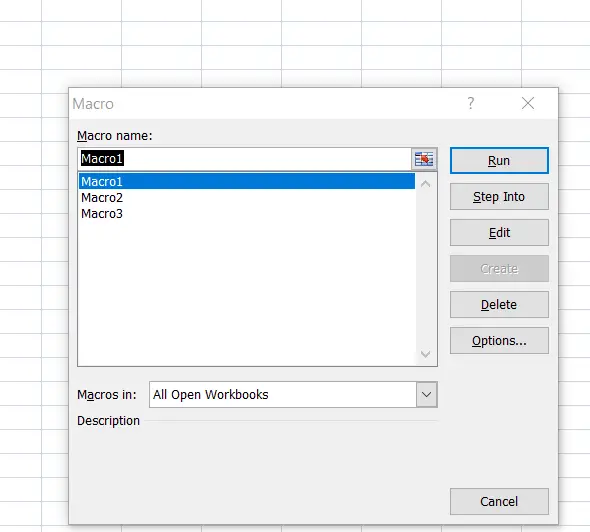
- Choose the MACRO to run. [ The name of the macro which you saved while creating the macro. ]
- Select the first cell from where the MACRO recording was started.
- Run the MACRO. It’ll perform all the recorded steps within a blink and the answer would appear.
- The following animation would take you through the process of running for the example we took in the recording animation.
ANIMATED EXAMPLE TO RUN MACRO

DESCRIPTION OF ANIMATED SCENARIO:
The process shows the running a macro which we created in the previous animation.
The name of the macros was “Macro2”.
We took a similar case as we had recorded and put 200 in place of 100 and applied the macros.
All the operations were applied and result was shown.The result comes out to be 41 which is correct.
Now, you have learnt the basics of MACRO.
CLICK HERE IF YOU WANT TO LEARN THE BASICS OF VBA from the scratch.