Table of Contents
- INTRODUCTION
- WHY DO WE NEED TO RUN A MACRO FROM A BUTTON ?
- CREATE A BUTTON TO RUN A MACRO IN GOOGLE SHEETS
- STEP 1: CREATE A BUTTON IN GOOGLE SHEETS
- STEP 2: CREATING A MACRO IN GOOGLE SHEETS
- STEP 3: ASSIGN MACRO TO BUTTON
- RUNNING THE MACRO USING BUTTON
INTRODUCTION
As we already discussed about MACROS here HOW TO CREATE MACROS IN GOOGLE SHEETS IN A MINUTE? , let us revise them a bit.
MACRO is a system of recording the steps which we have performed in GOOGLE SHEETS.
We can learn the procedure of creating a macro in GOOGLE SHEETS here, but we can see that we needed to use the MENU every time to play these macros.
Of course, we can play the macro from there, but what if the user is not so acquainted about Google Sheets. In such a scenario, how would it be if we could create a button for the user to use.
So, in this article, we’ll learn the ways to use a macro with a button in GOOGLE SHEETS.
WHY DO WE NEED TO RUN A MACRO FROM A BUTTON ?
There can be many purposes of running a macro with the help of a button or we can say executing a macro script using the BUTTON in GOOGLE SHEETS.
Some of the reasons can be:
- The user might not know how to run a macro or user might find it confusing or less appealing.
- There can be a number of macros and user might get confused about the purpose of the macros or which macro needs to be used for which purpose.
- We can completely automate the sheet using buttons.
- Buttons are very easy to use.
There can be many more reasons to run a macro using a button.
CREATE A BUTTON TO RUN A MACRO IN GOOGLE SHEETS
We’ll complete this process in the following steps.
- Creating a Button.
- Creating a Macro.
- Connecting the Button to the Macro.
Let us start.
STEP 1: CREATE A BUTTON IN GOOGLE SHEETS
The first steps is to create a button in Google Sheets.
We can easily create a button of our choice by creating it using the DRAWING OPTIONS in GOOGLE SHEETS.
We already have learnt in detail the process of creating a drawing in GOOGLE SHEETS.
For a button , let us create a simple drawing.
FOLLOW THE STEPS TO CREATE A BUTTON IN GOOGLE SHEETS:
- Go to INSERT MENU and click DRAWING.
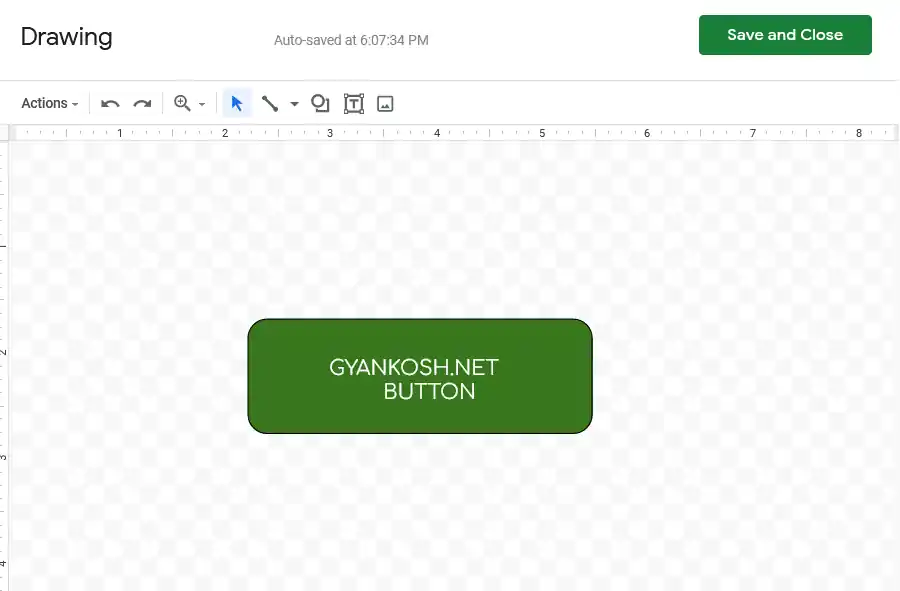
- The drawing canvas will open.
- Go to SHAPES and choose a rounded rectangle or rectangle or any other shape of your choice.
- Draw it, choose the colors of your choice.
- After finishing the creation, click SAVE AND CLOSE.
- The shape will be inserted.
- For our example, we have created a green colored rounded corners rectangle.
LEARN CREATION OF GRAPHICS IN GOOGLE SHEETS IN DETAIL
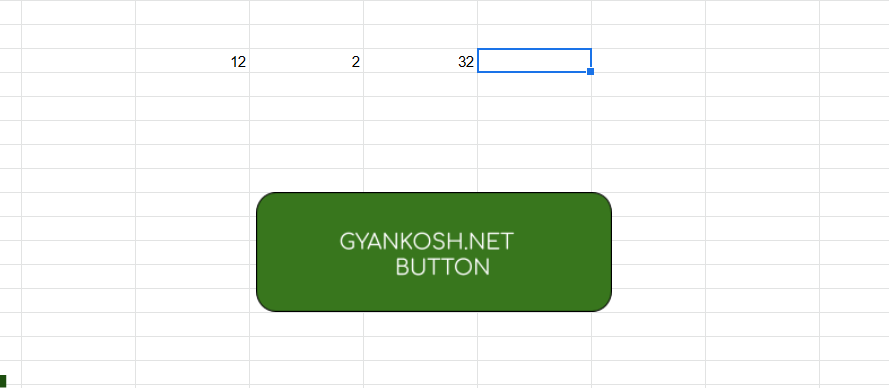
The following picture shows the button created.
IF YOU DON'T WANT TO CREATE A BUTTON IN GOOGLE SHEETS, OR WANT TO USE ANY OTHER GRAPHICS, YOU CAN INSERT IT AS AN IMAGE AND USE IT AS A BUTTON.
STEP 2: CREATING A MACRO IN GOOGLE SHEETS
Let us create a simple macro which calculates the MULTIPLICATION OF THE VALUES PRESENT IN THE PRECEDING THREE CELLS.
The process will be discussed in brief, for complete details kindly visit
HOW TO CREATE MACROS IN GOOGLE SHEETS IN A MINUTE?
FOLLOW THE STEPS TO CREATE A MACRO IN GOOGLE SHEETS:
- Enter any dummy values in three consecutive cells in Excel.
- Select the Fourth cell.
- Go to EXTENSIONS MENU and choose MACROS> RECORD MACRO.
- Enter the formula = CELL 1*CELL2*CELL 3.
- For our example we put =D4*E4*F4.
- click Save, give name to the macro and click OK. We gave the name MULTIPLY to our macro.
- The macro is ready.
KINDLY VISIT HOW TO CREATE MACROS IN GOOGLE SHEETS IN A MINUTE? FOR COMPLETE IN DEPTH LEARNING OF CREATION OF MACROS IN GOOGLE SHEETS.
STEP 3: ASSIGN MACRO TO BUTTON
It is time to assign the macro to the created button . Assigning a macro is the process which will connect our code to the created button.
FOLLOW THE STEPS TO ASSIGN MACRO TO BUTTON:
- Click on the button.
- Click on THREE DOTS on the right portion.
- Click ASSIGN SCRIPT.
- Enter the name as the macro name. For our example we’ll use MULTIPLY.
- The macro has been assigned to the button.
- Now, we can click the button to execute the macro.
The following picture shows the execution of macro script using the button.
RUNNING THE MACRO USING BUTTON
Now, our button has been connected to the Macro. So , we are ready to use the Macro using the button anywhere.
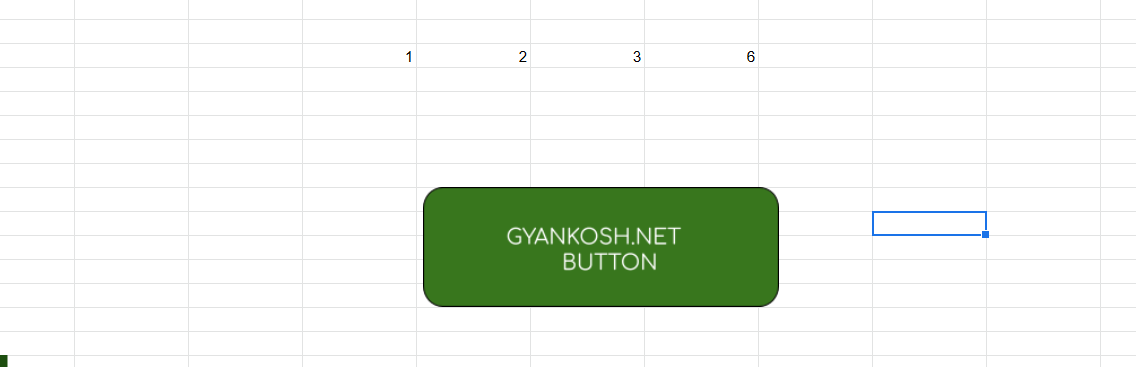
To check this, enter any three numbers anywhere and we can get the multiplication result in the fourth cell after clicking the button as shown in the picture below.
The following picture shows the running of the macro.