INTRODUCTION
Google Docs is word processor offered by Google which is gaining popularity slowly as it offers great features and functionalities.
A word processor is extensively used for document creations like reports, documents etc.
There are many basic features which must be present in any word processor to make the things easy for the document writers such as editing options, formatting options, layouts, print setting etc. and many more.
One more such requirement which is very simple but essential many times is to set the background of the documents in Google Docs.
In this article, we’ll learn to set the same background image and different background images in the pages in Google Documents.
NEED OF IMAGE AS BACKGROUND
It was impossible a few days ago to set IMAGE AS A BACKGROUND in GOOGLE DOCS. But it is possible now.
There can be multiple scenarios when we need to put an image in the background such as:
- Creating a background Image for Template Designing.
- To use the picture as a WATERMARK.
- The picture is needed for some specific purpose on which we need to put text or markings.
- Aesthetics only.
There can be many other scenarios too, but these are the frequent ones.
STEPS TO INSERT IMAGE AS A BACKGROUND IN GOOGLE DOCS
Let us discuss the different steps to Insert the image as a background in Google docs.
If we break this process into the steps, the process of inserting the image as a background consists of two main steps.
- Inserting the image.
- Set the image as the background.
Let us start with the first step.
INSERTING THE IMAGE IN GOOGLE DOCS
The first step is to insert an image in google docs.
FOLLOW THE STEPS TO INSERT AN IMAGE IN GOOGLE DOCS
- Open the document.
- Go to INSERT MENU and choose IMAGE.
- As we hover the mouse over IMAGE OPTION, a long list of sources will be shown.
- Choose the source from where you want to get the image file.
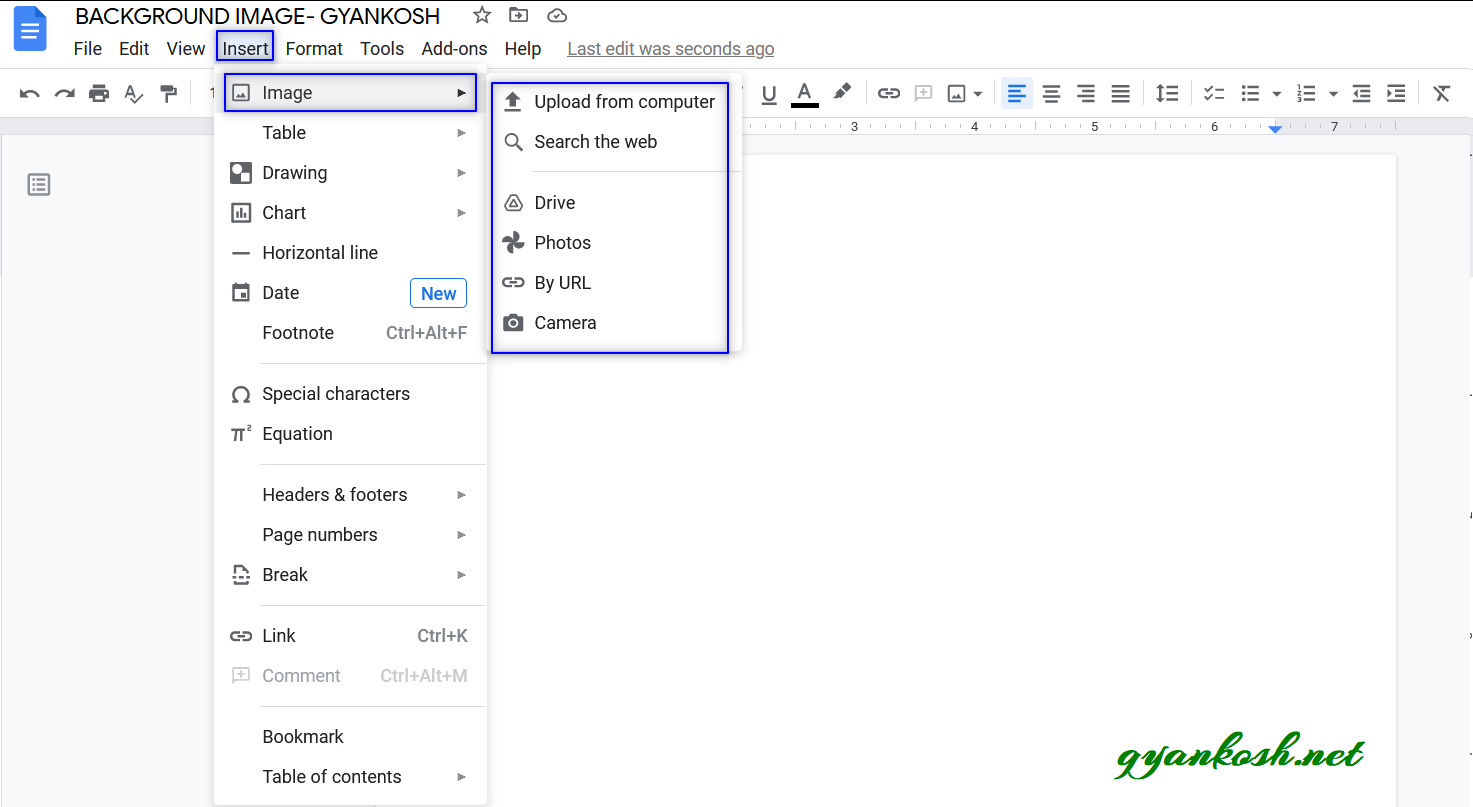
For this example, we’ll pick an image from the computer so choose UPLOAD FROM COMPUTER.
A standard File Open box will open, select the file and click OK.
The file will be imported as an image into the document.
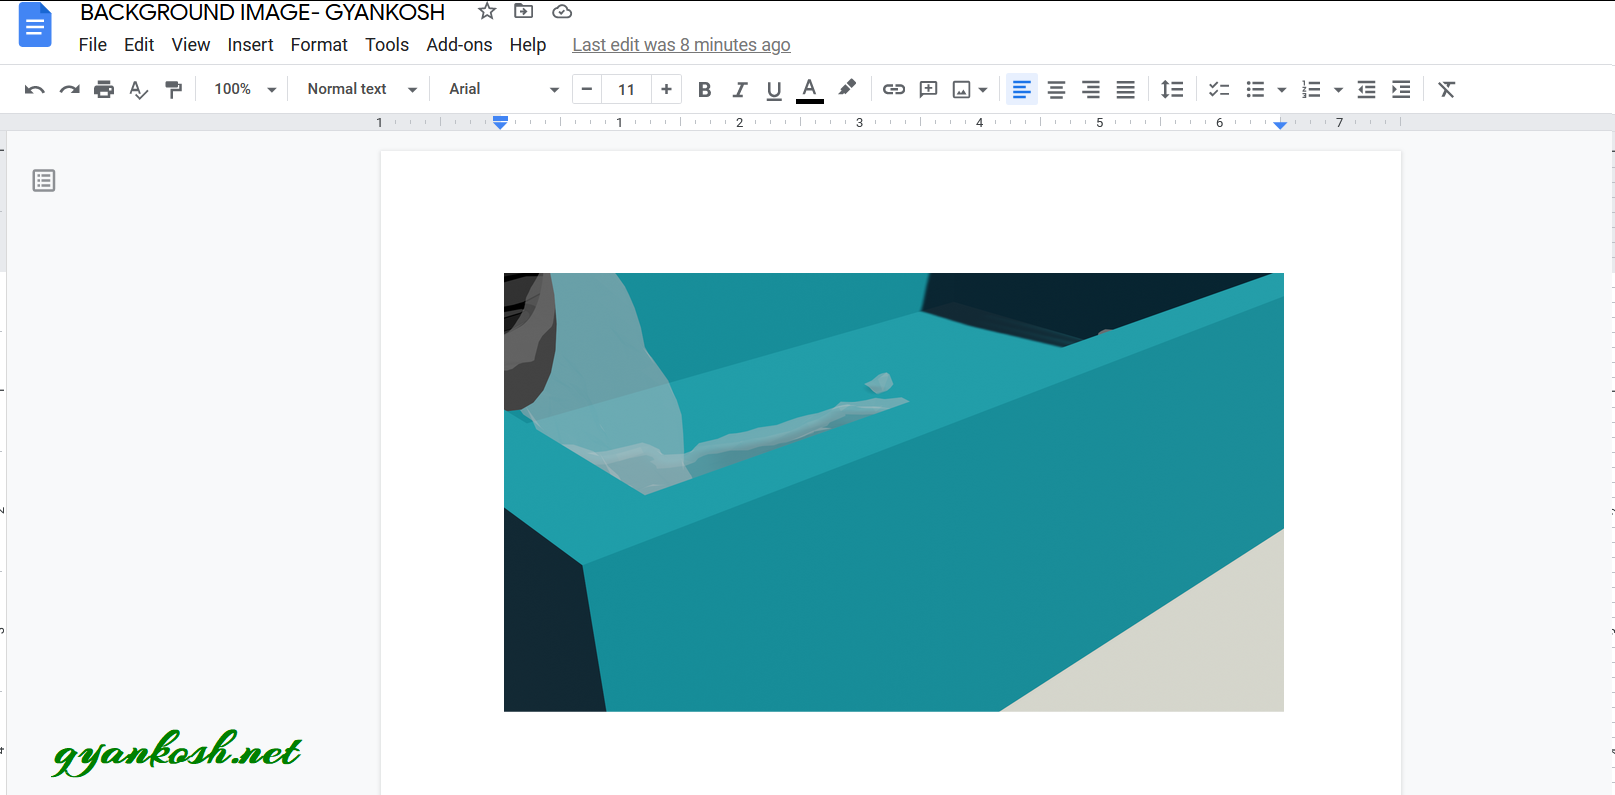
As we inserted the Image, the first step is completed.
SET THE IMAGE AS THE BACKGROUND
Once the Image has been imported, we’ll need to fix the image and get it ready to be used as Background.
The image is almost ready but we’d like to perform a few fixes.
ROTATE THE IMAGE : [OPTIONAL]
- Select the image by clicking it.
- Go to IMAGE OPTIONS, which will populate on the right side.
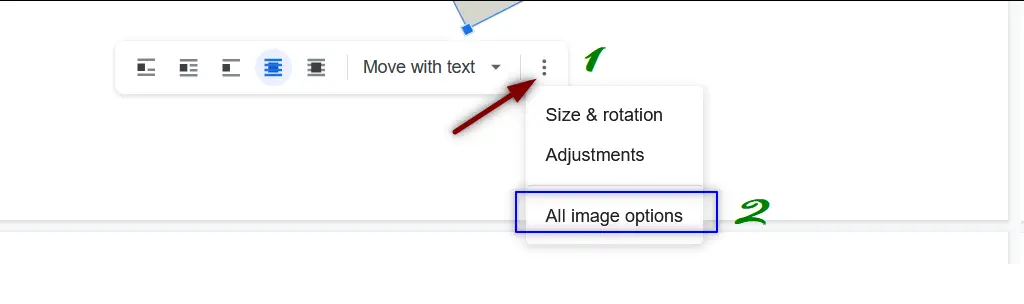
- If the options don’t populate, single click and select the image, the options will appear at the bottom as shown in the picture below.
- Click on the THREE DOTS for more options, select ALL IMAGE OPTIONS.
- The image options will open on the right.
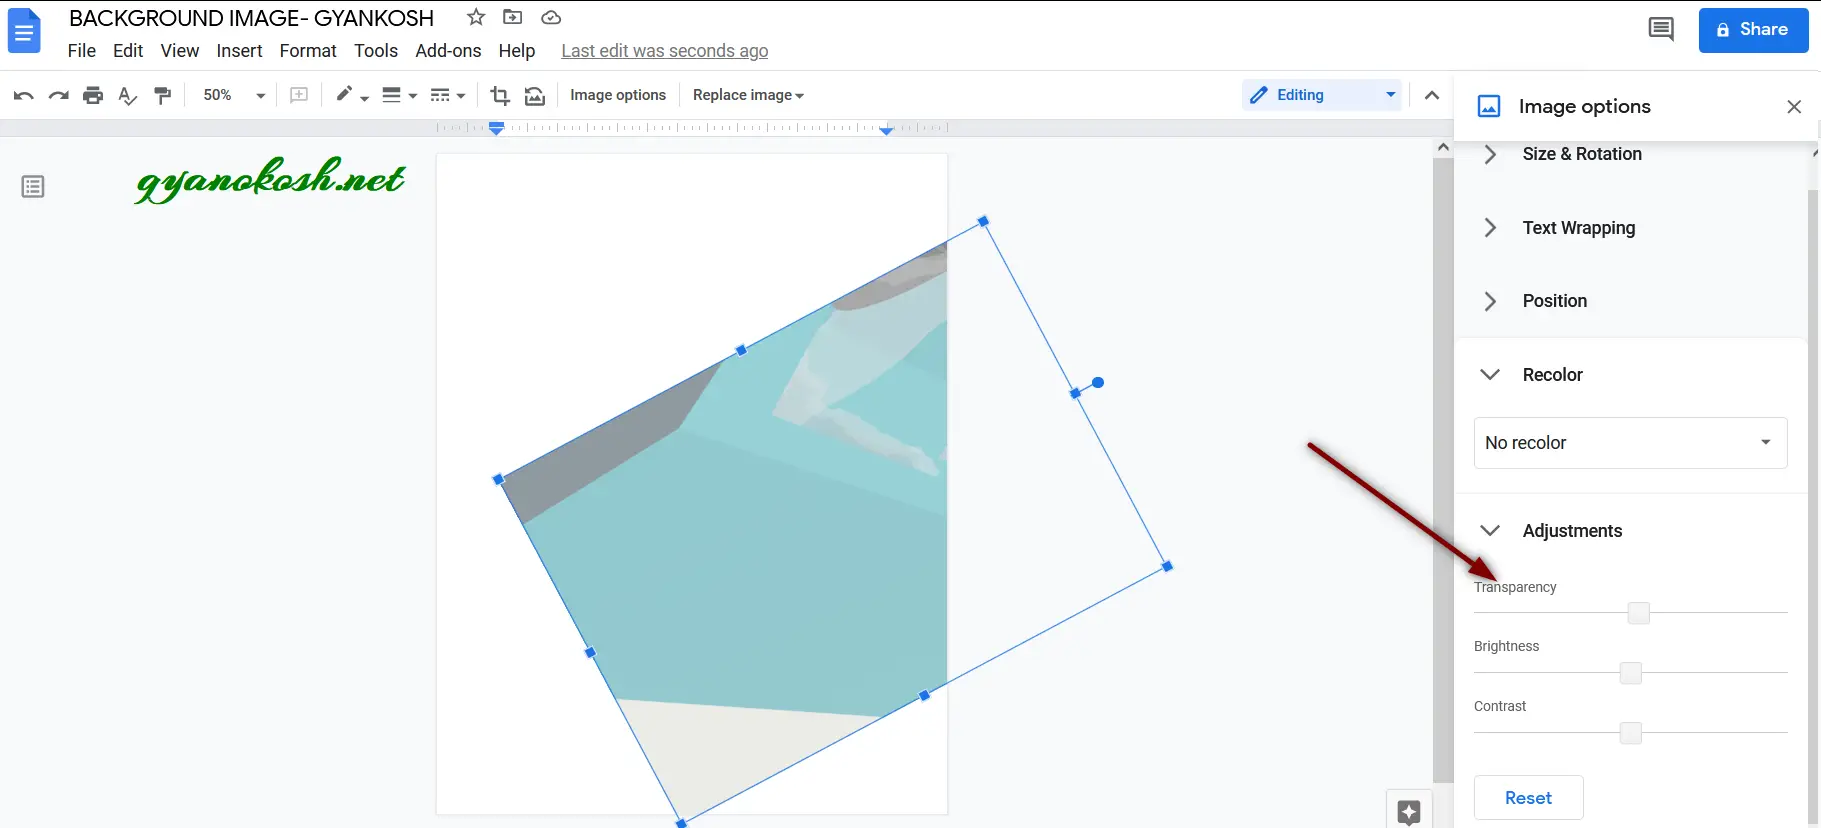
- In the IMAGE OPTIONS PANE on the RIGHT SIDE of the screen, go to SIZE AND ROTATION.
- Go to ROTATE SECTION and change the degree so that the image is rotated as per your requirement.
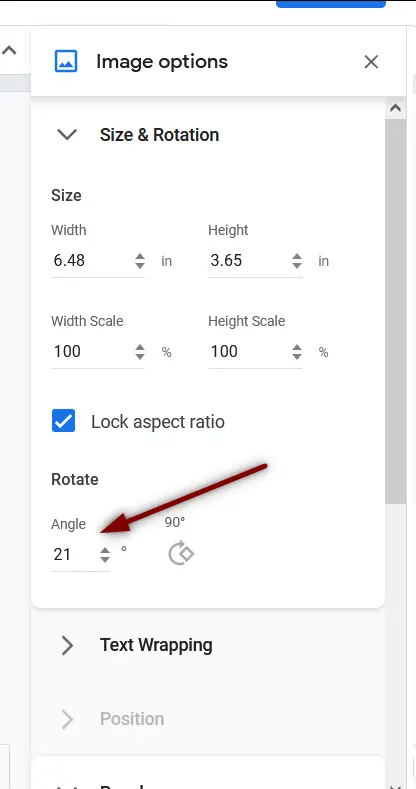
- After setting the ROTATION ANGLE, and moving the pic , we’ll find the pic something like shown in the picture.
THE ROTATION OF THE PICTURE IS SOLELY ON YOUR CHOICE. IT HAS NO CONNECTION WITH THE MAIN PROCESS OF PUTTING THE IMAGE AS A BACKGROUND.
Normally , it is up to the user if he needs a washed out image in the background or not.
In our example , we’ll wash out the image.
STEPS TO SET THE TRANSPARENCY TO WASH OUT THE IMAGE
The Transparency option is also present in the IMAGE OPTIONS.
FOLLOW THE STEPS TO SET THE TRANSPARENCY
- Select the picture.
- IMAGE OPTIONS pane will open at the RIGHT.
- If IMAGE OPTIONS doesn’t open, click the Image.
- Go to the lower portion options and click THREE DOTS to see more options.
- Select ALL IMAGE OPTIONS. [ The process is shown with the pictures in the last section ]
- In the IMAGE OPTIONS, go to ADJUSTMENTS.
- Set the TRANSPARENCY as per your choice by changing the slider.
The picture will look like the one shown below.
SETTING THE TEXT WRAP SETTINGS FOR THE IMAGE
Now, the most important step is to set the image behavior with the text.
TEXT WRAPPING SETTING IS THE OPTION WHICH TELLS ABOUT THE BEHAVIOR OF THE IMAGE WITH THE TEXT. THE IMAGE CAN BE IN-LINE, WRAP TEXT , BREAK TEXT, BEHIND THE TEXT, IN FRONT OF TEXT.
We’ll choose the setting BEHIND THE TEXT so that our image goes behind the text and act as a Background Image.
FOLLOW THE STEPS TO SET THE IMAGE BEHIND THE TEXT
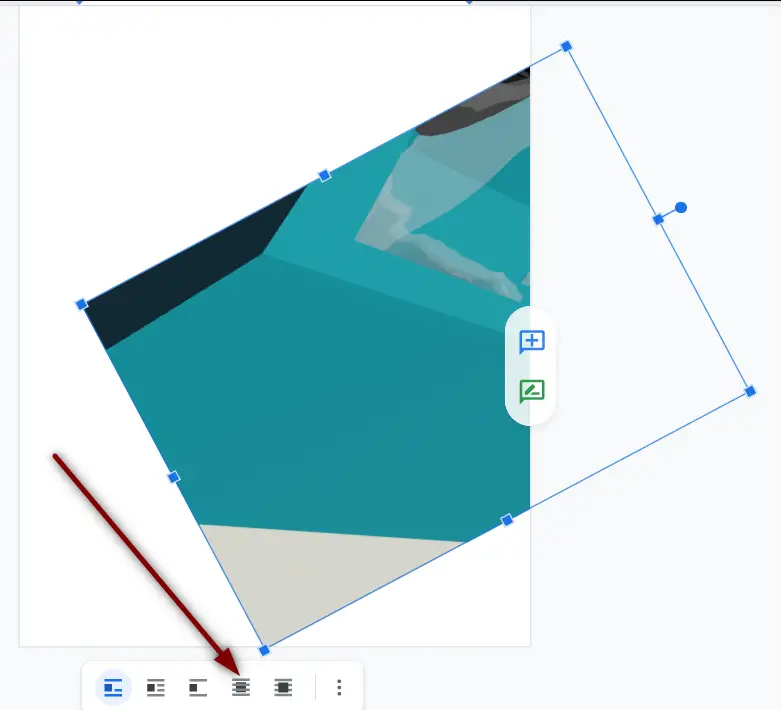
- After we have imported the Image and performed all the settings, click the image.
- At the bottom, some quick shortcuts will be shown as shown below in the picture.
- Choose the option BEHIND THE TEXT which is shown below in the picture.
- We can also change this setting from the IMAGE OPTIONS PANE.
- If the IMAGE OPTIONS PANE is already open, go to TEXT WRAPPING SETTINGS.
- Choose BEHIND THE TEXT as shown in the picture below.

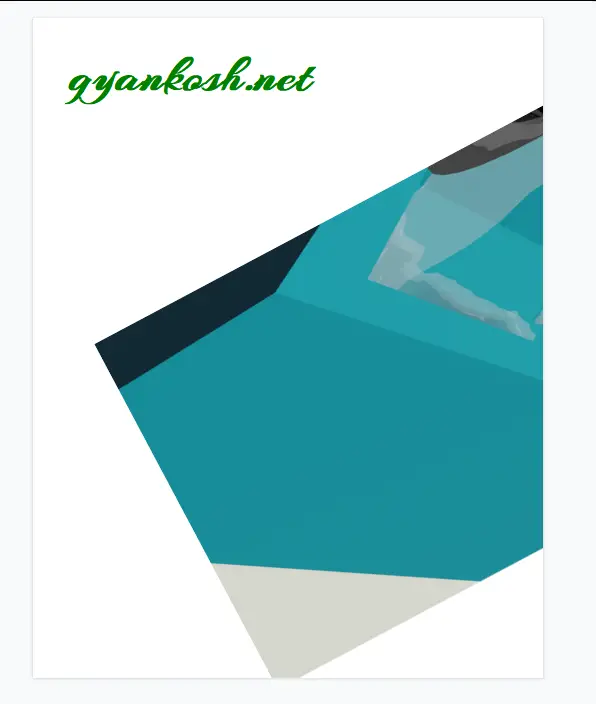
After choosing the option, our background image has been set in the document.
The final blank page looks like the one shown below.
TESTING THE EXAMPLE
After we have done all the settings and put a background image, it is time to test the example.
WHAT WE EXPECT:
We want the image to be in the background which must not create any issue while creating the document.
RUNNING THE EXAMPLE
After the document is ready,
simply type and create your document as you wish.
The following animation shows the usage of the document with a background image in it.
In this article we learnt to put a background image in Google Docs.