INTRODUCTION
All of us have entered text in a document by simply typing the text in it. This is character level typing and can be done in parallel with other numbers entered in the cell.
Now, think of a scenario, when you want to insert a totally separate space for some custom text, which can be a comment or any other information which you want to put in a space where it is not possible while using the simple text. In this case, we can make use of the text box function.
“TEXTBOX” is drawn at any portion where we need to put the text. It can be drawn anywhere in the document . It can move over the images and can be given different style and rotations, separately from the other text.
WHAT IS A TEXT BOX IN GOOGLE DOCS ?
A text box can be understood simply as
A SEPARATE SPACE FOR TEXT WHICH CAN BE PUT AT ANY PLACE IN THE DOCUMENT, CAN BE ROTATED, GIVEN COLOR, CHANGED FONT AND BEHAVE AS A COMPLETE SEPARATE ENTITY FROM THE DOCUMENT. TEXTBOX CAN BE PLACED ABOVE ANOTHER TEXT BOX OR IMAGE BUT NOT ON THE DOCUMENT TEXT.
A sample text box is shown below in the picture.
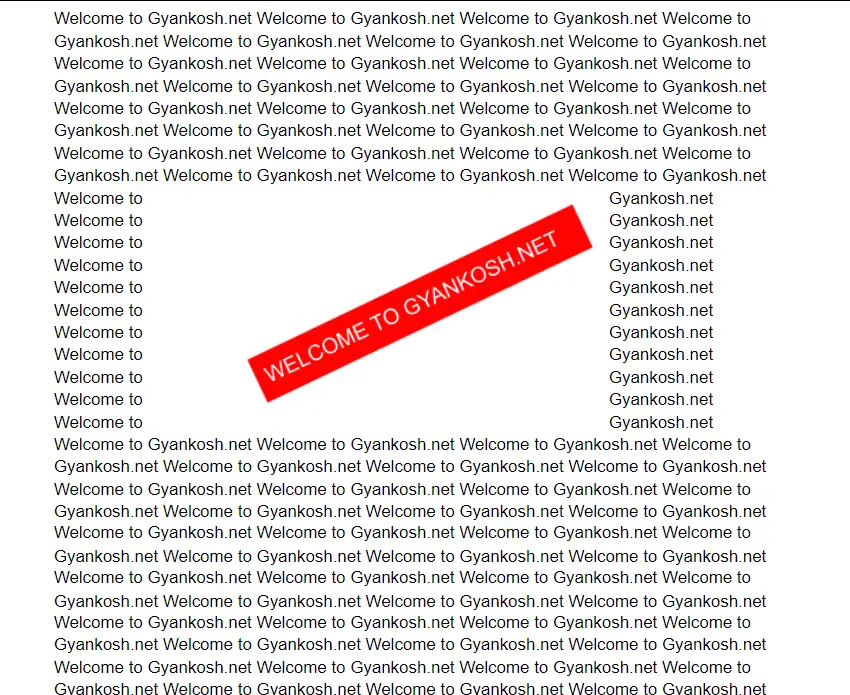
You can see in the picture above where a small text box has been placed, with a colored background, text color change and rotated.
The same document can be printed easily whenever needed.
WHEN TO USE A TEXT BOX IN GOOGLE DOCS ?
We should use a text box in GOOGLE DOCS when we
- Need to enter a separate text and place it anywhere.
- Need to enter a fancy text with separate font, color, background color, orientation etc.
- Need a text which you want to move easily. We can move the text box anywhere without bothering to cut, paste or delete and re enter the text anywhere.
- Need to put text over an image. It can be something when you want to mark the portions of an image. Simple text won’t allow you to do that.
- When we want to put text over text and many other situations can arise when we need to use a text box.
BUTTON LOCATION FOR INSERTION OF TEXT BOX IN GOOGLE DOCS
The TEXT BOX is not found as a separate option in the first level toolbars or menus in GOOGLE DOCS.
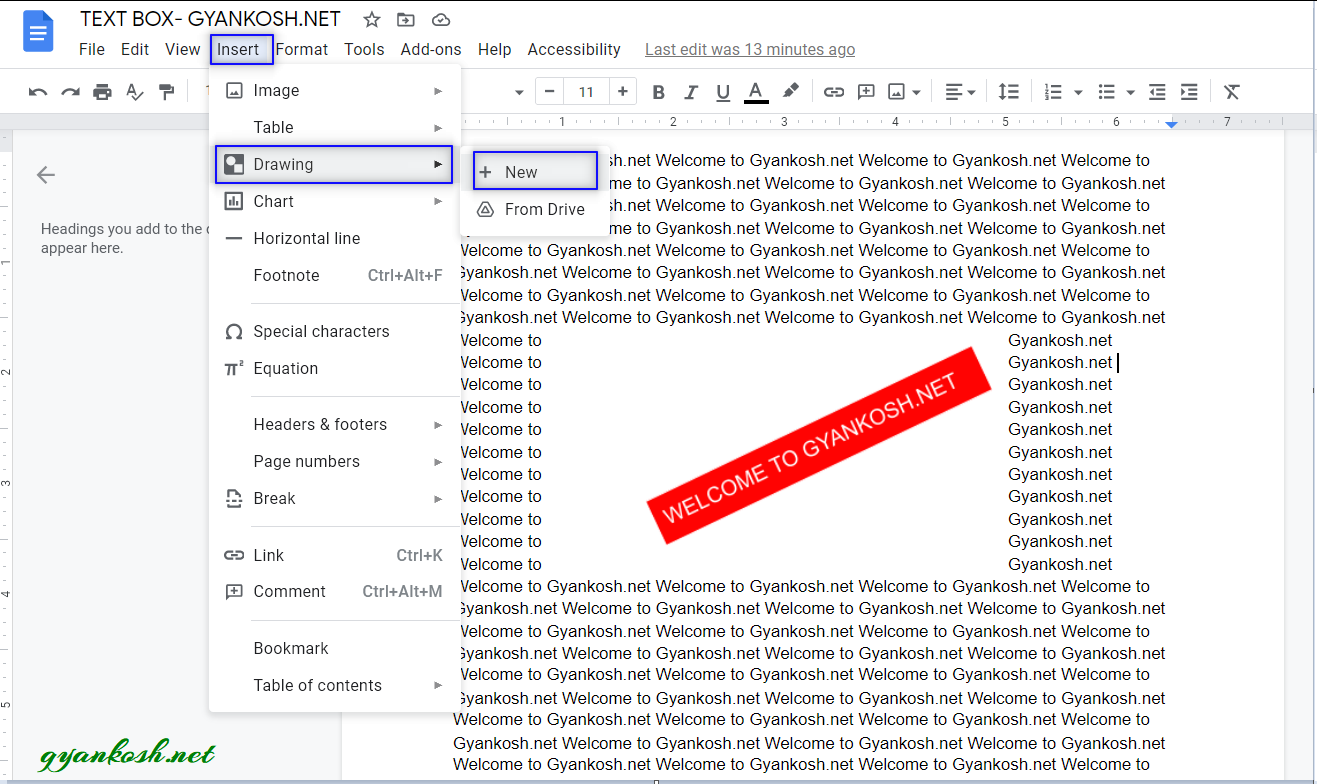
It can be found in the DRAWING OPTION under INSERT MENU as shown in the picture below.
HOW TO INSERT TEXTBOX IN GOOGLE DOCS ?
STEPS TO INSERT A TEXT BOX IN GOOGLE DOCS :
- Go to INSERT MENU and click DRAWING OPTION >NEW.
- DRAWING OPTION will open up a new drawing box or canvas where we’ll draw our textbox.
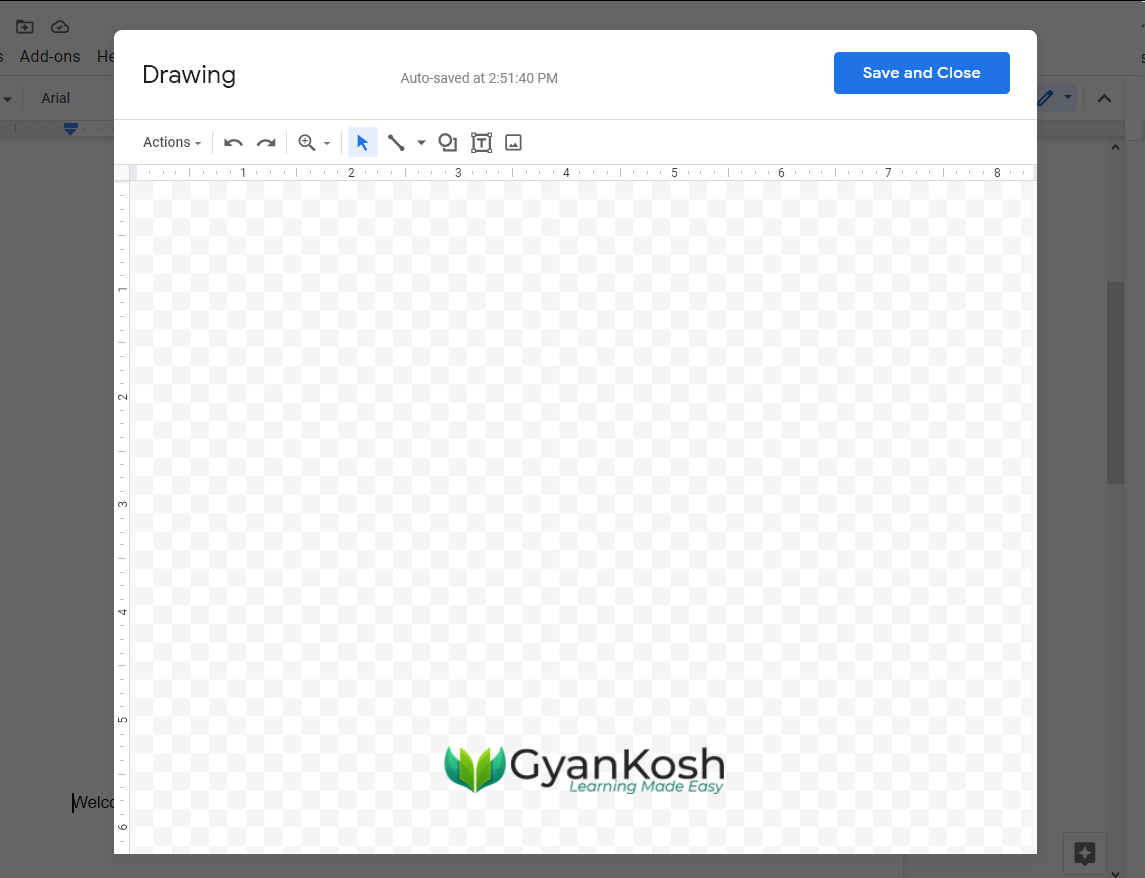
- After the drawing box is open , click on the TEXT BOX button as shown in the picture below.
- The select arrow cursor will change to PRECISION TYPE [+] cursor.
- LEFT CLICK on a point and drag from left to right diagonally. [ Keep the mouse button pressed ]
- A small box will be created.
- Leave the left click.
- A box will be created and cursor will appear in the box.
- Type the text you want in the TEXT BOX. For our example, we have typed the text “Welcome to gyankosh.net”.
- The text can be rotated also using the small circle at the top as shown in the picture below. Editing will be discussed separately.
The complete process is shown in the animation below.

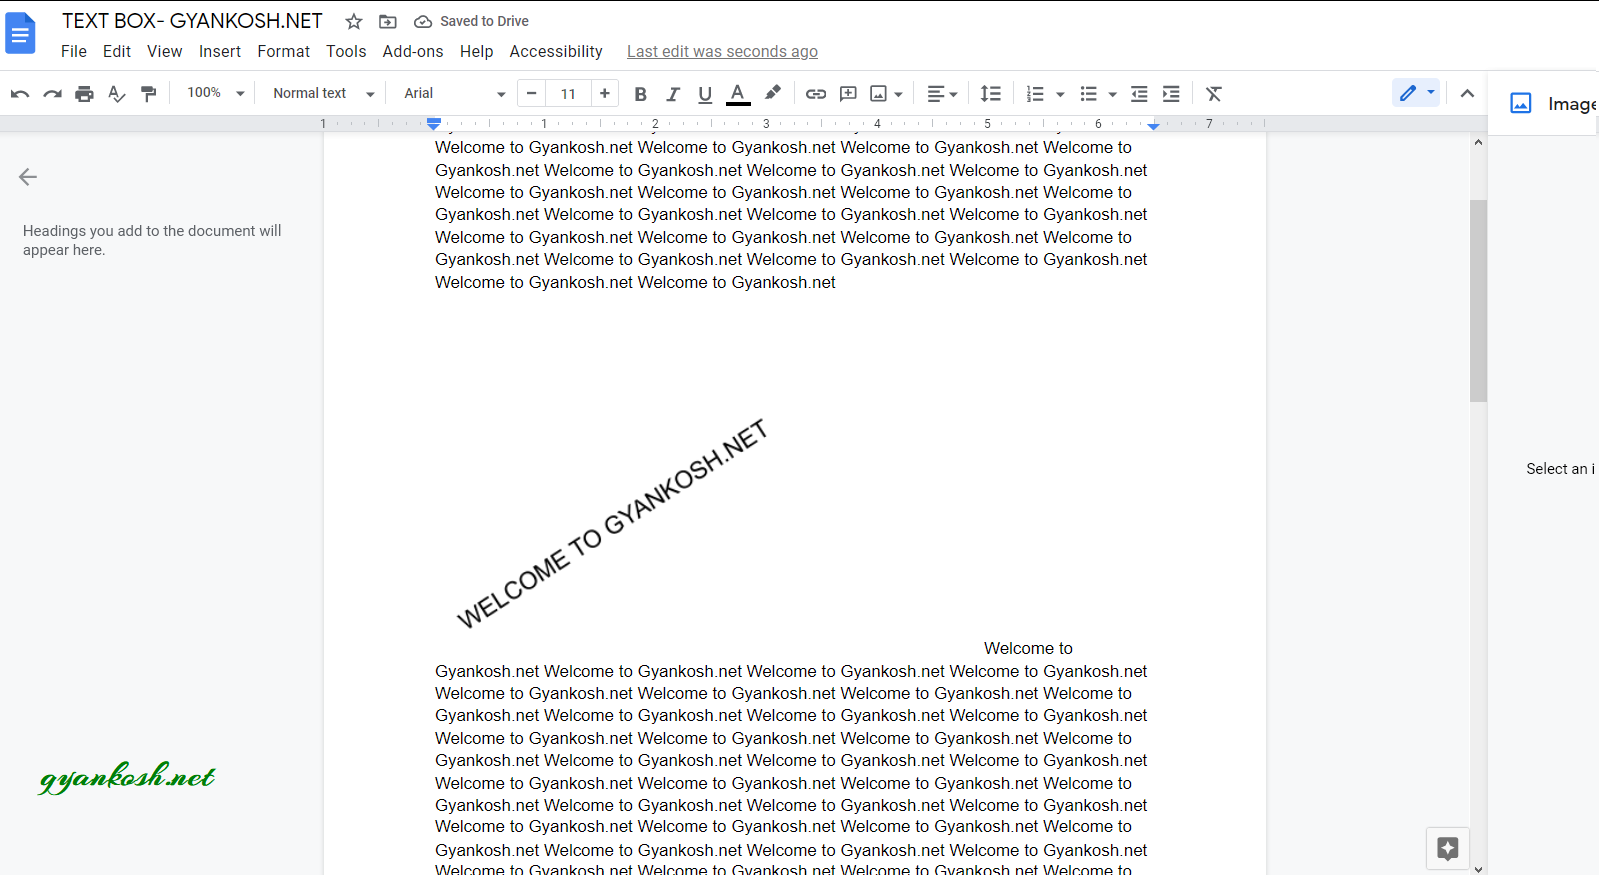
After we have typed the text in the TEXTBOX , click SAVE AND CLOSE on the right upper corner.
The text will be inserted in our sheet as shown in the picture below.
This is the procedure of inserting a text box in GOOGLE DOCS.
This text box can be moved here or there easily without interfering our sheet.
DOUBLE CLICK THE TEXT BOX TO AGAIN EDIT IT OR SINGLE CLICK AND CHOOSE EDIT FROM THE OPTION CREATED BELOW THE TEXT BOX
We’ll discuss editing the text box in separate article.