INTRODUCTION
Google Docs is the free and useful word processor offered by Google.
This is a powerful word processor offering many features which are increasing at a good pace.
There are many basic features of the word processing application such as fonts, managing the text, format etc.
One such requirement is , when the user want to put the text in multiple columns in a single page.
In this article, we’ll learn about the way to create multiple columns in a page of google docs.
WHAT IS A COLUMN?
As per dictionary, A Column is
a vertical arrangement of items printed or written on a page
It simply means that if we are having text vertically, it is a column.
In the normal page when we are writing or typing from left to write or right to left , using the complete line without any gap or separator, we are still in a column.
Most of the times, for efficient use of the space, such as in news papers where the area for printing is limited, or in other such spaces, multiple columns are needed.
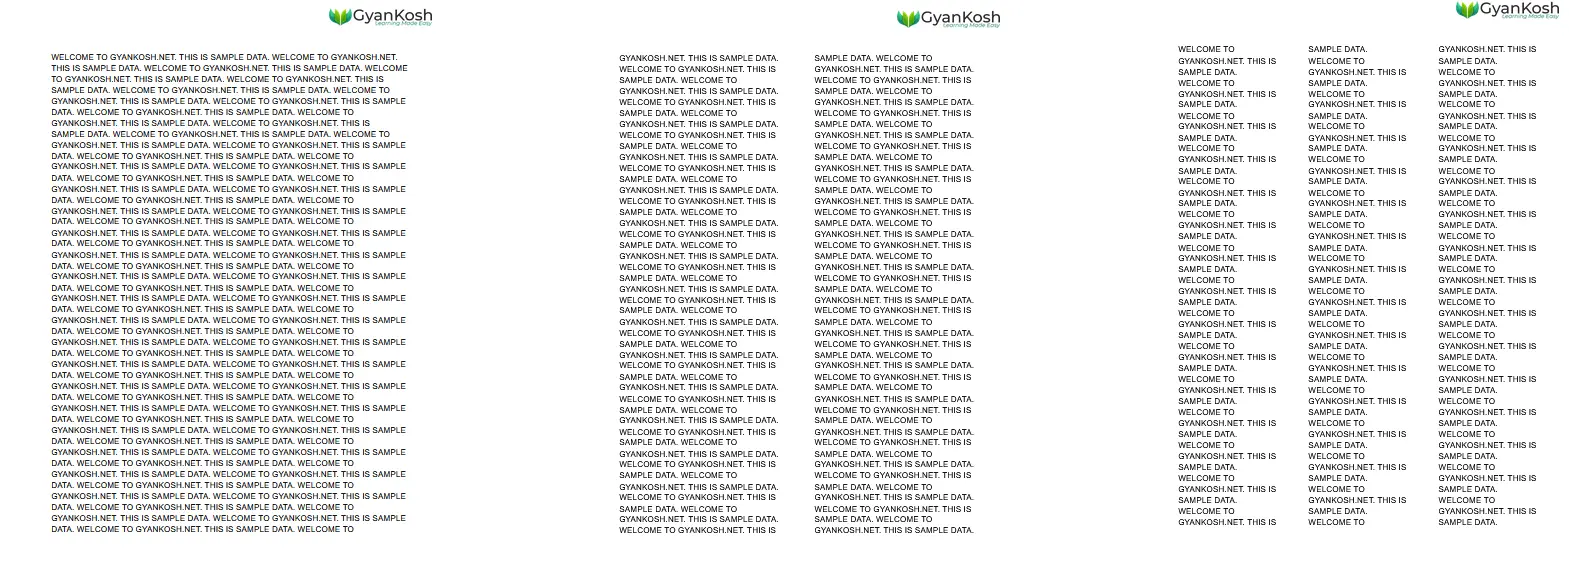
In standard practices, around three columns are sufficient for any type of printing requirement.
In books, you must not have seen more than two columns.
The sample of single column, double column and three columns has been shown below.
STEPS TO CREATE TEXT COLUMNS IN GOOGLE DOCS
After we have understood about the columns, it is time to create multiple columns in google docs.
Follow the steps to create columns in google docs.
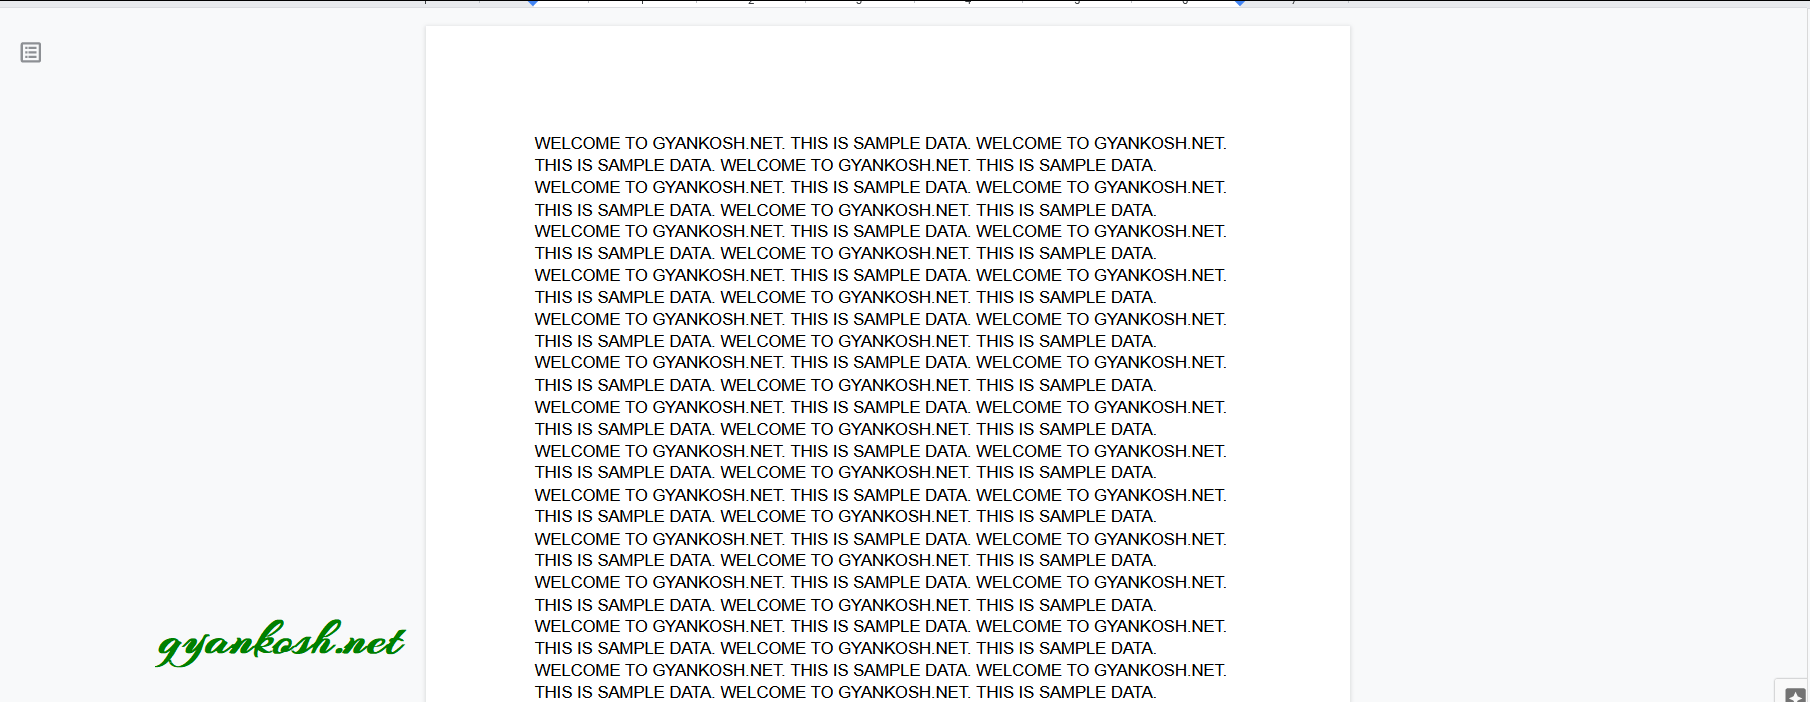
The example shown below contains the normal text in a page of Google Docs.
This text represents the text in a single or one column which can be observed in the picture shown below.
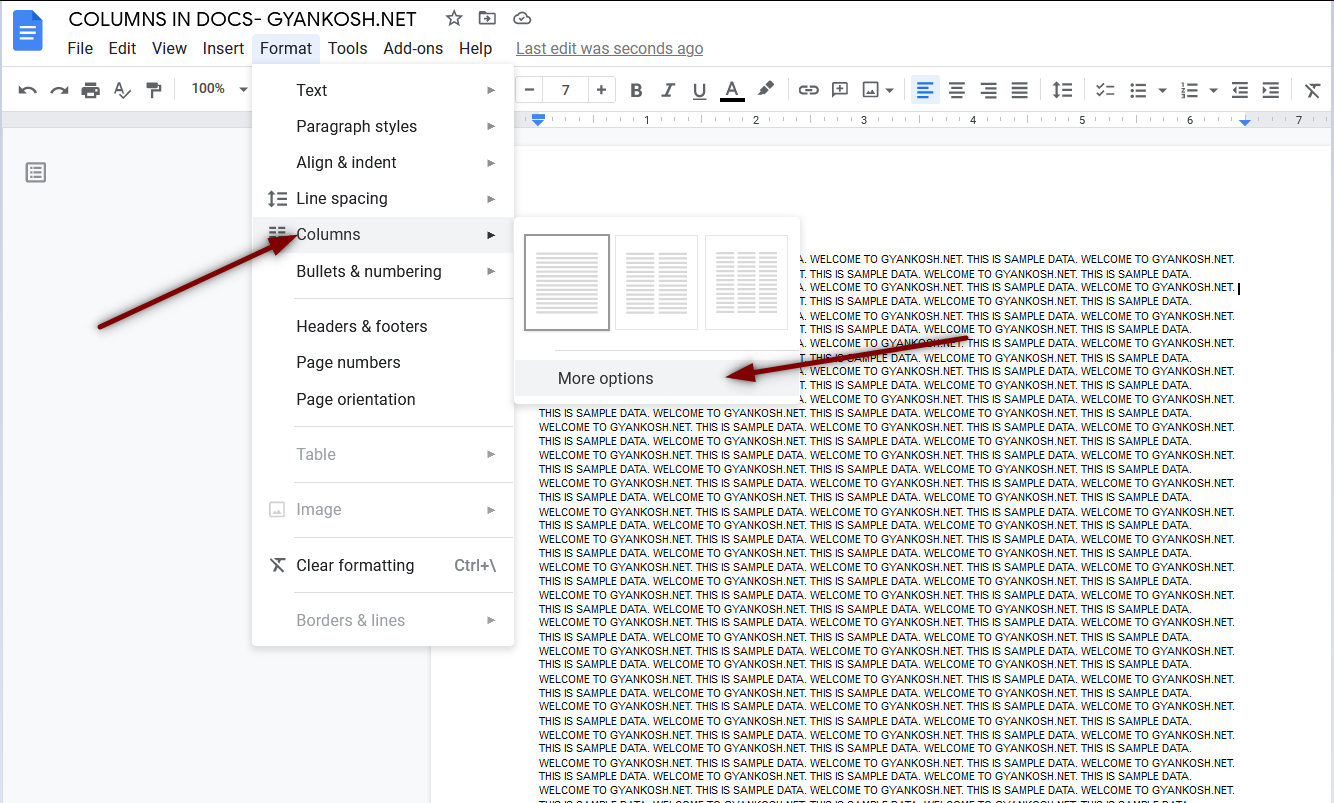
- Go to FORMAT MENU > COLUMNS.
- The option will open with the graphical representation of a SINGLE, DOUBLE OR TRIPLE COLUMN.
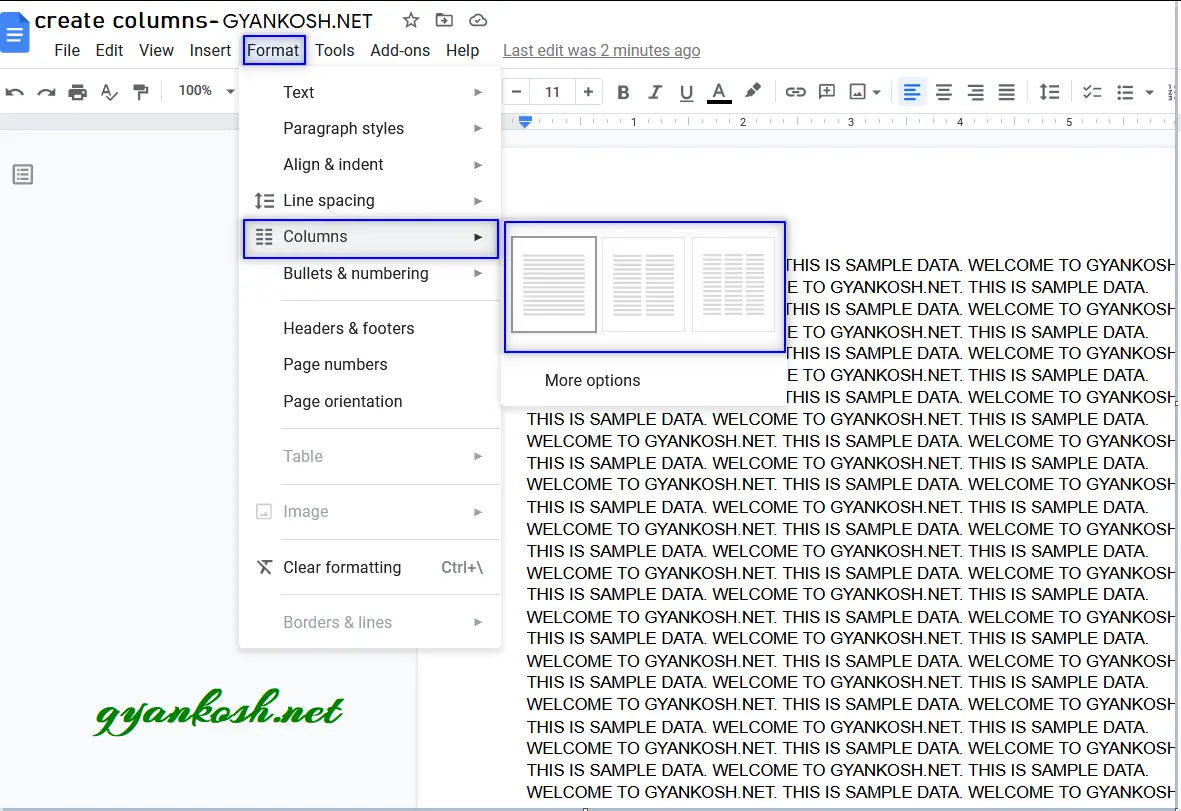
- Choose the number of columns desired or required.
- The text in the page will be set in the desired number of columns.
- The process is shown below in the animated picture.
So, we have learnt the way to create multiple text columns in google docs.
But , there can be some other requirements too.
They are discussed below.
HOW TO INSERT A SEPARATOR OR LINE BETWEEN THE COLUMNS IN GOOGLE DOCS ?
Sometimes, there is a simple line or separator between the text columns created.
We have the same option in Google Docs too.
FOLLOW THE STEPS TO INSERT A SIMPLE LINE BETWEEN THE COLUMNS IN GOOGLE DOCS
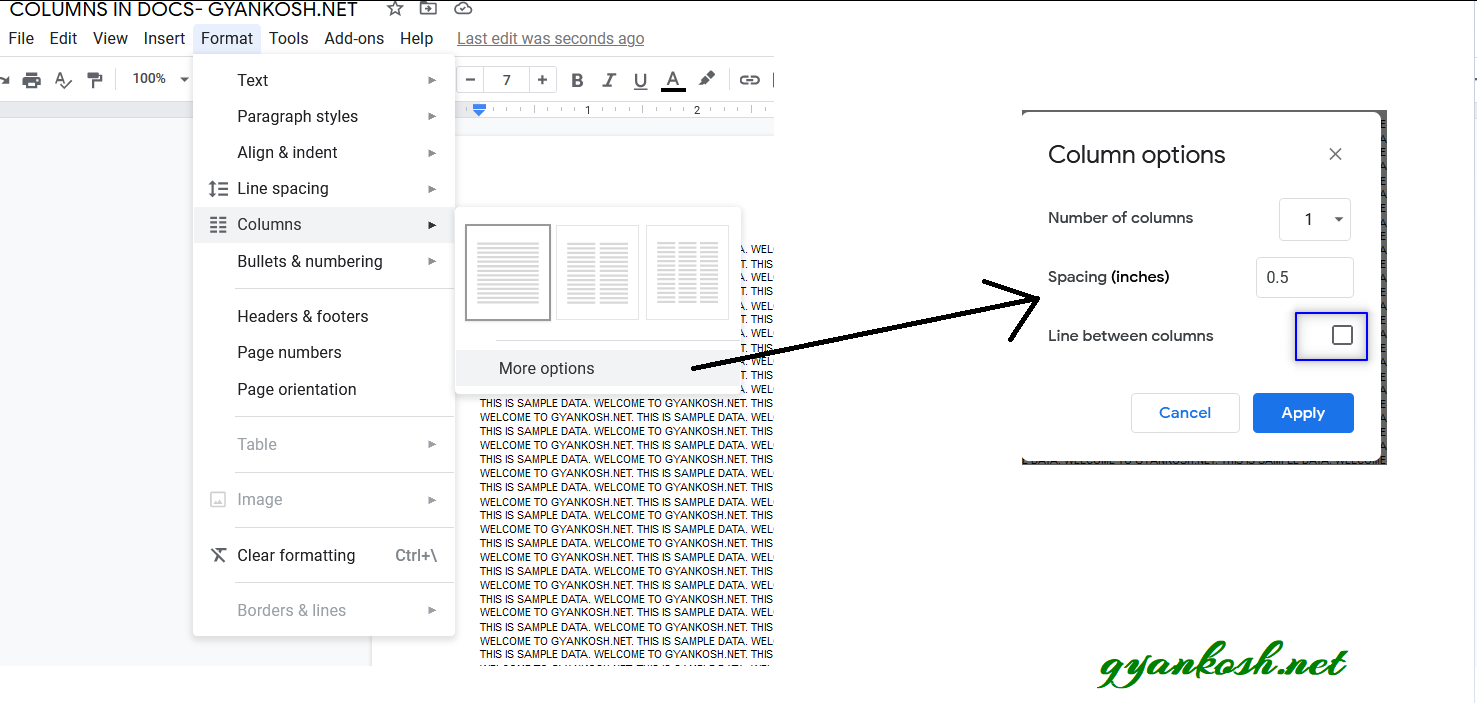
- Go to FORMAT MENU > COLUMNS > MORE OPTIONS.
- After we click MORE OPTION , a small dialog box opens up.
- Choose the number of columns, which needs to be more than 1 for the Google Docs to be able to insert a line between columns.
- Go to the option LINE BETWEEN COLUMNS and check the CHECKBOX for the option.
- Click APPLY.
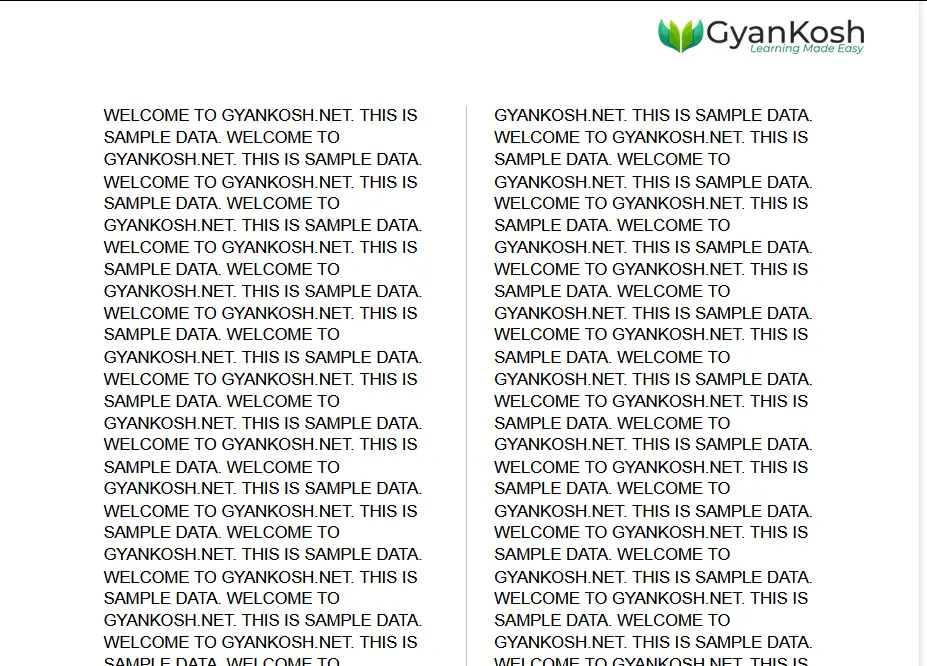
After the settings are done and APPLY is pressed, the text will be divided into columns with a separator or line between the columns.
The picture with a line between columns is shown below.
HOW TO CHANGE THE SPACING BETWEEN THE COLUMNS IN GOOGLE DOCS ?
Now, one more functionality is there which help us to set the GAP BETWEEN THE COLUMNS IN GOOGLE DOCS.
Follow the steps to set the gap between the columns in google docs.
- Go to FORMAT MENU > COLUMNS > MORE OPTIONS.
- In the dialog box, Enter the number in the SPACING (INCHES) option in INCHES.
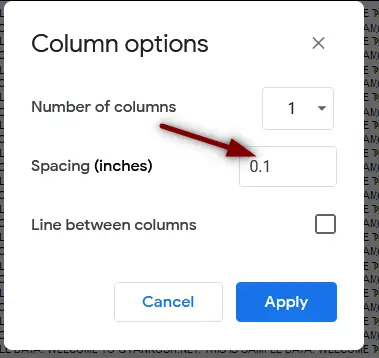
- Click Apply.
- The gap will be as we mentioned in the space.
- The following picture shows the result.
In this way, we can adjust the gap between the columns.
There is one more way to adjust the gap as per requirement which is more easy as we can see visually how much gap has been created.
It’ll be discussed soon.